Overland Tech and Travel
Advice from the world's
most experienced overlanders
tests, reviews, opinion, and more
Effective backup lighting
I’ve never met a vehicle with factory backup lamps that were worth a damn, and I’ve never been sure why—granted, we don’t reverse at the same speed we go forward, but there are plenty of bad things that can happen at five miles per hour when your field of vision is reduced to a couple of mirrors, or your neck is craned at 100 degrees and you’re peering out the corners of your eyes.
In the context of a four-wheel-drive vehicle negotiating a difficult trail after sundown, this problem is magnified tenfold. If you’re backing up, it’s often because the trail in front has become too difficult to negotiate, and that means the trail behind you is not that much better. If you need to turn around and the trail is narrow with a steep dropoff, well . . . you’ve probably been there, as have I.
For those reasons, my FJ40 has been supplied with superb backup lighting for several decades, courtesy of a 7-inch round Cibie Oscar halogen fog lamp with a 100-watt bulb. The Cibie provided a massive amount of light, and drew enough power that I had to re-engineer the backup circuit with 10-gauge wire and a relay. But it’s gotten me out of tight spots more than once, and makes reversing in town a breeze.
However, time marches on, and halogen lamps are for many applications being quickly outdated by far more efficient LEDs, which last much longer (50,000 hours compared to 2,000 or so), are more resistant to vibration, and draw a fraction of the power. The Cibie had a very high cool factor in addition to its usefulness, but I decided an upgrade was in order. So I looked up Baja Designs, which in a lot fewer years than Cibie has been around has earned a stellar reputation for its auxiliary lighting systems. A quick browse through the online catalog landed me on the S2 Sport “work and scene” lamp, a two-LED lamp a fraction of the size of the Cibie (2.93 x 1.76 x 1.68 inches), yet which produces 1,130 lumens while drawing an absurd .9 amps, compared to 8.3 for the halogen lamp.
The Cibie had always been mounted on a tab on the right side of the Stout Equipment rear rack on the 40, which was really not optimal, although it threw enough light that the loss on the driver’s side was minimal. I tried mounting the BD lamp there, but it just didn’t look right and would have suffered the same offset effect, so I remounted it to the bottom center of the rack, where it is well-protected and produces a perfectly balanced spread. I had to carefully trim away come copper filaments in the fat 10-gauge positive wire that had fed the 100-watt halogen bulb in order to be able to solder it into the BD quick-disconnect fitting, but otherwise installation was easy.
Results? The S2’s 1,130-lumen output is lower than the Cibie’s halogen bulb, which probably put out around 2,000 lumens. However, the fog-oriented focus of the Cibie produced an extremely bright horizontal strip of light about 20 feet behind the vehicle, with less bright light in front and behind, because it was mounted higher than a fog lamp normally would be. The BD S2 produces a much more even flood of light closer to the vehicle, which is slightly less impressive but actually much more useful.
The S2 has an IP69K waterproof rating, which means it is submersible to nine feet and impregnable to pressure washing. It also exceeds the MIL-STD810G rating, which means . . . actually I have no idea what it means, but it should mean this will be the last backup lamp I need to install on the FJ40.
Baja Designs is here. Stay tuned for an upgrade on the 40's driving lamps as well.
Simichrome
Just a quick note for those of you who, like me, prefer to keep your equipment looking good as well as performing properly. The other day I needed to polish the lovely English-made brass bell on the Thorn Nomad, and remembered to dig out the Simichrome polish. This stuff has been around for ages, but there's still nothing to beat it for shining up virtually anything that should be shiny, from bicycle accessories to chrome bumpers. Just look at the mirror finish on the bell:
Trust . . .
For the first ten or so years of our marriage, not another human besides me touched the mechanical components of our vehicles. I rebuilt the engine of a BMW 2002 we bought in pieces in boxes; I changed the clutch on our first 2wd Toyota pickup literally in the street in front of our first house; I swapped the engine and transmission in our FJ40; rebuilt the knuckles on our FJ55—many more fairly major jobs besides the gentle but regular tides of normal maintenance.
Mind you, I am most definitely not an expert mechanic. “Competent amateur” would be the highest category with which I’d be willing to label myself. Nevertheless, while we were still in school and then striving to build careers freelance writing, and thus too poor to afford “real” mechanics, I was able to keep our various vehicles mobile.
Things began to change once we started making better money, and changed more quickly once we’d established ourselves as writers, and later when the Overland Expo began to grow so quickly. I found myself in a position in which I actually saved money by taking our vehicles to a mechanic, so that I could continue my main functions in the business. Fortunately, by that time we’d found (and made a dear friend of) a master Toyota mechanic named Bill Lee, someone in whom we could place implicit trust on any mechanical matter. We got to know him as a mechanic at a Toyota dealership, when he rebuilt the engine of the FJ55 we’d just bought that had been traded in. Once he opened his own shop, we didn’t need to think twice when we needed work on the 40 or any of the Toyota pickups we cycled through.
Then the bastard moved. First 250 miles away, then 500, to northern New Mexico. We shipped the FJ40 to him when it was time for a complete powertrain renewal, but for more run of the mill procedures that’s a bit much. So on advice of another friend we took a 2002 Toyota Tacoma Prerunner we had bought for the business to a prominent local shop for a major service.
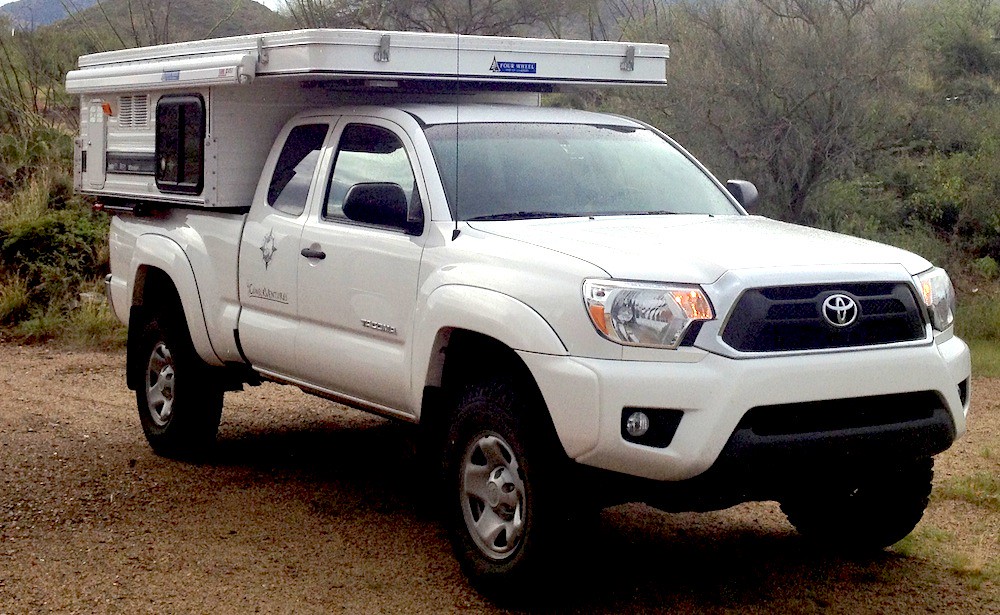
Something over $2,000 later it was back (and had me reconsidering whether we were actually saving money with this approach . . .). All seemed well, but several months later we decided the Prerunner was just not the right vehicle for what we needed at the Expo, and sold it to a friend of Bill, who needed a solid truck on which to mount a Four Wheel Camper, but who did not require four wheel drive.
Needless to say, Bill gave the truck another thorough going over with his own critical eye—and sent me an email that was disappointing. Checking over what had been done by the Tucson mechanic, he found a $5 generic PCV valve for which we had been charged the Toyota price ($25.56), and a Toyota part—a window master switch—which lists for $403.20 but for which we paid $535.71, not counting labor. Also, the intake boot, which was rotten and torn and should have been replaced, had been “repaired” by wrapping it with electrical tape.
Sigh . . .
Is this what so many vehicle owners have to put up with on a day-to-day basis? Not knowing if your mechanic is trustworthy? I know it’s possible to make an honest living as a mechanic because Bill does so, even in a remote one-horse New Mexican town which is (did I mention this?) 500 miles away from a perfectly decent supply of loyal customers in Tucson.
Trust. Notice that once it has been compromised by a single incident, it is essentially gone? One can be pretty certain that a shop does not overcharge on a factory part just once, or install an aftermarket part and charge a factory price for it just once, or bodge a repair just once. It’s like discovering a lie told you by a friend or business associate. Once you have that proof of duplicity you quite rightfully doubt everything.
Fortunately the diesel mechanic who takes care of our Ford F350 has proven to be not only competent but honest to a fault. But a 50-percent success ratio is nothing to brag about. In the meantime, I wonder if I lodge enough false complaints about Bill Lee on Yelp, he’ll lose business in Farmington and have to move back here?
Decisions . . .
It was getting late in the afternoon of what had been a long day driving down the west coast of Tasmania. We were exhilarated but looking forward to camp, sundowners, and dinner.
We had two choices. Our map showed a developed campground near Zeehan, just a few minutes away. We’d found these surprisingly nice in Tasmania, with decently spaced sites and good facilities—not bad for a transit stay as we needed. We could be set up and relaxing with plenty of daylight left.
However, the map also showed an intriguing spot on the coast called Trial Harbor, about 25 kilometers down a winding road. But it would add at least an hour to the day, and while our map indicated there was camping available, it gave no further information. We’d have to chance that there would be a spot left.
How often have many of us faced similar dilemmas? It was a close call, but the coast beckoned, so we turned off the C249 and headed west. The road was convoluted but, at first, surfaced, and it immediately dived into a verdant eucalyptus forest. There was a heart-stopping moment when an echidna ambled out in front of us and the Troopy’s brakes—all disc but still less than superb—barely spared the spiny little thing as it did a slow U-turn and waddled back into the undergrowth. Then we broke out into open hills fringed with massive forests blanketing the slopes. The surface turned to gravel, and with zero opposing traffic we wound our way into shaded ravines and out and up again under fast-moving clouds.
The detour had already proven its worth, but then we turned a corner, topped a rise, and beheld the Southern Ocean stretched in front of us, surprisingly only 50 meters below. Whitecaps hyphened the sea into distant windblown salt mist—sail west from here and your next landfall would be Tierra del Fuego; head south and only icebergs would prevent you running into Antarctica.
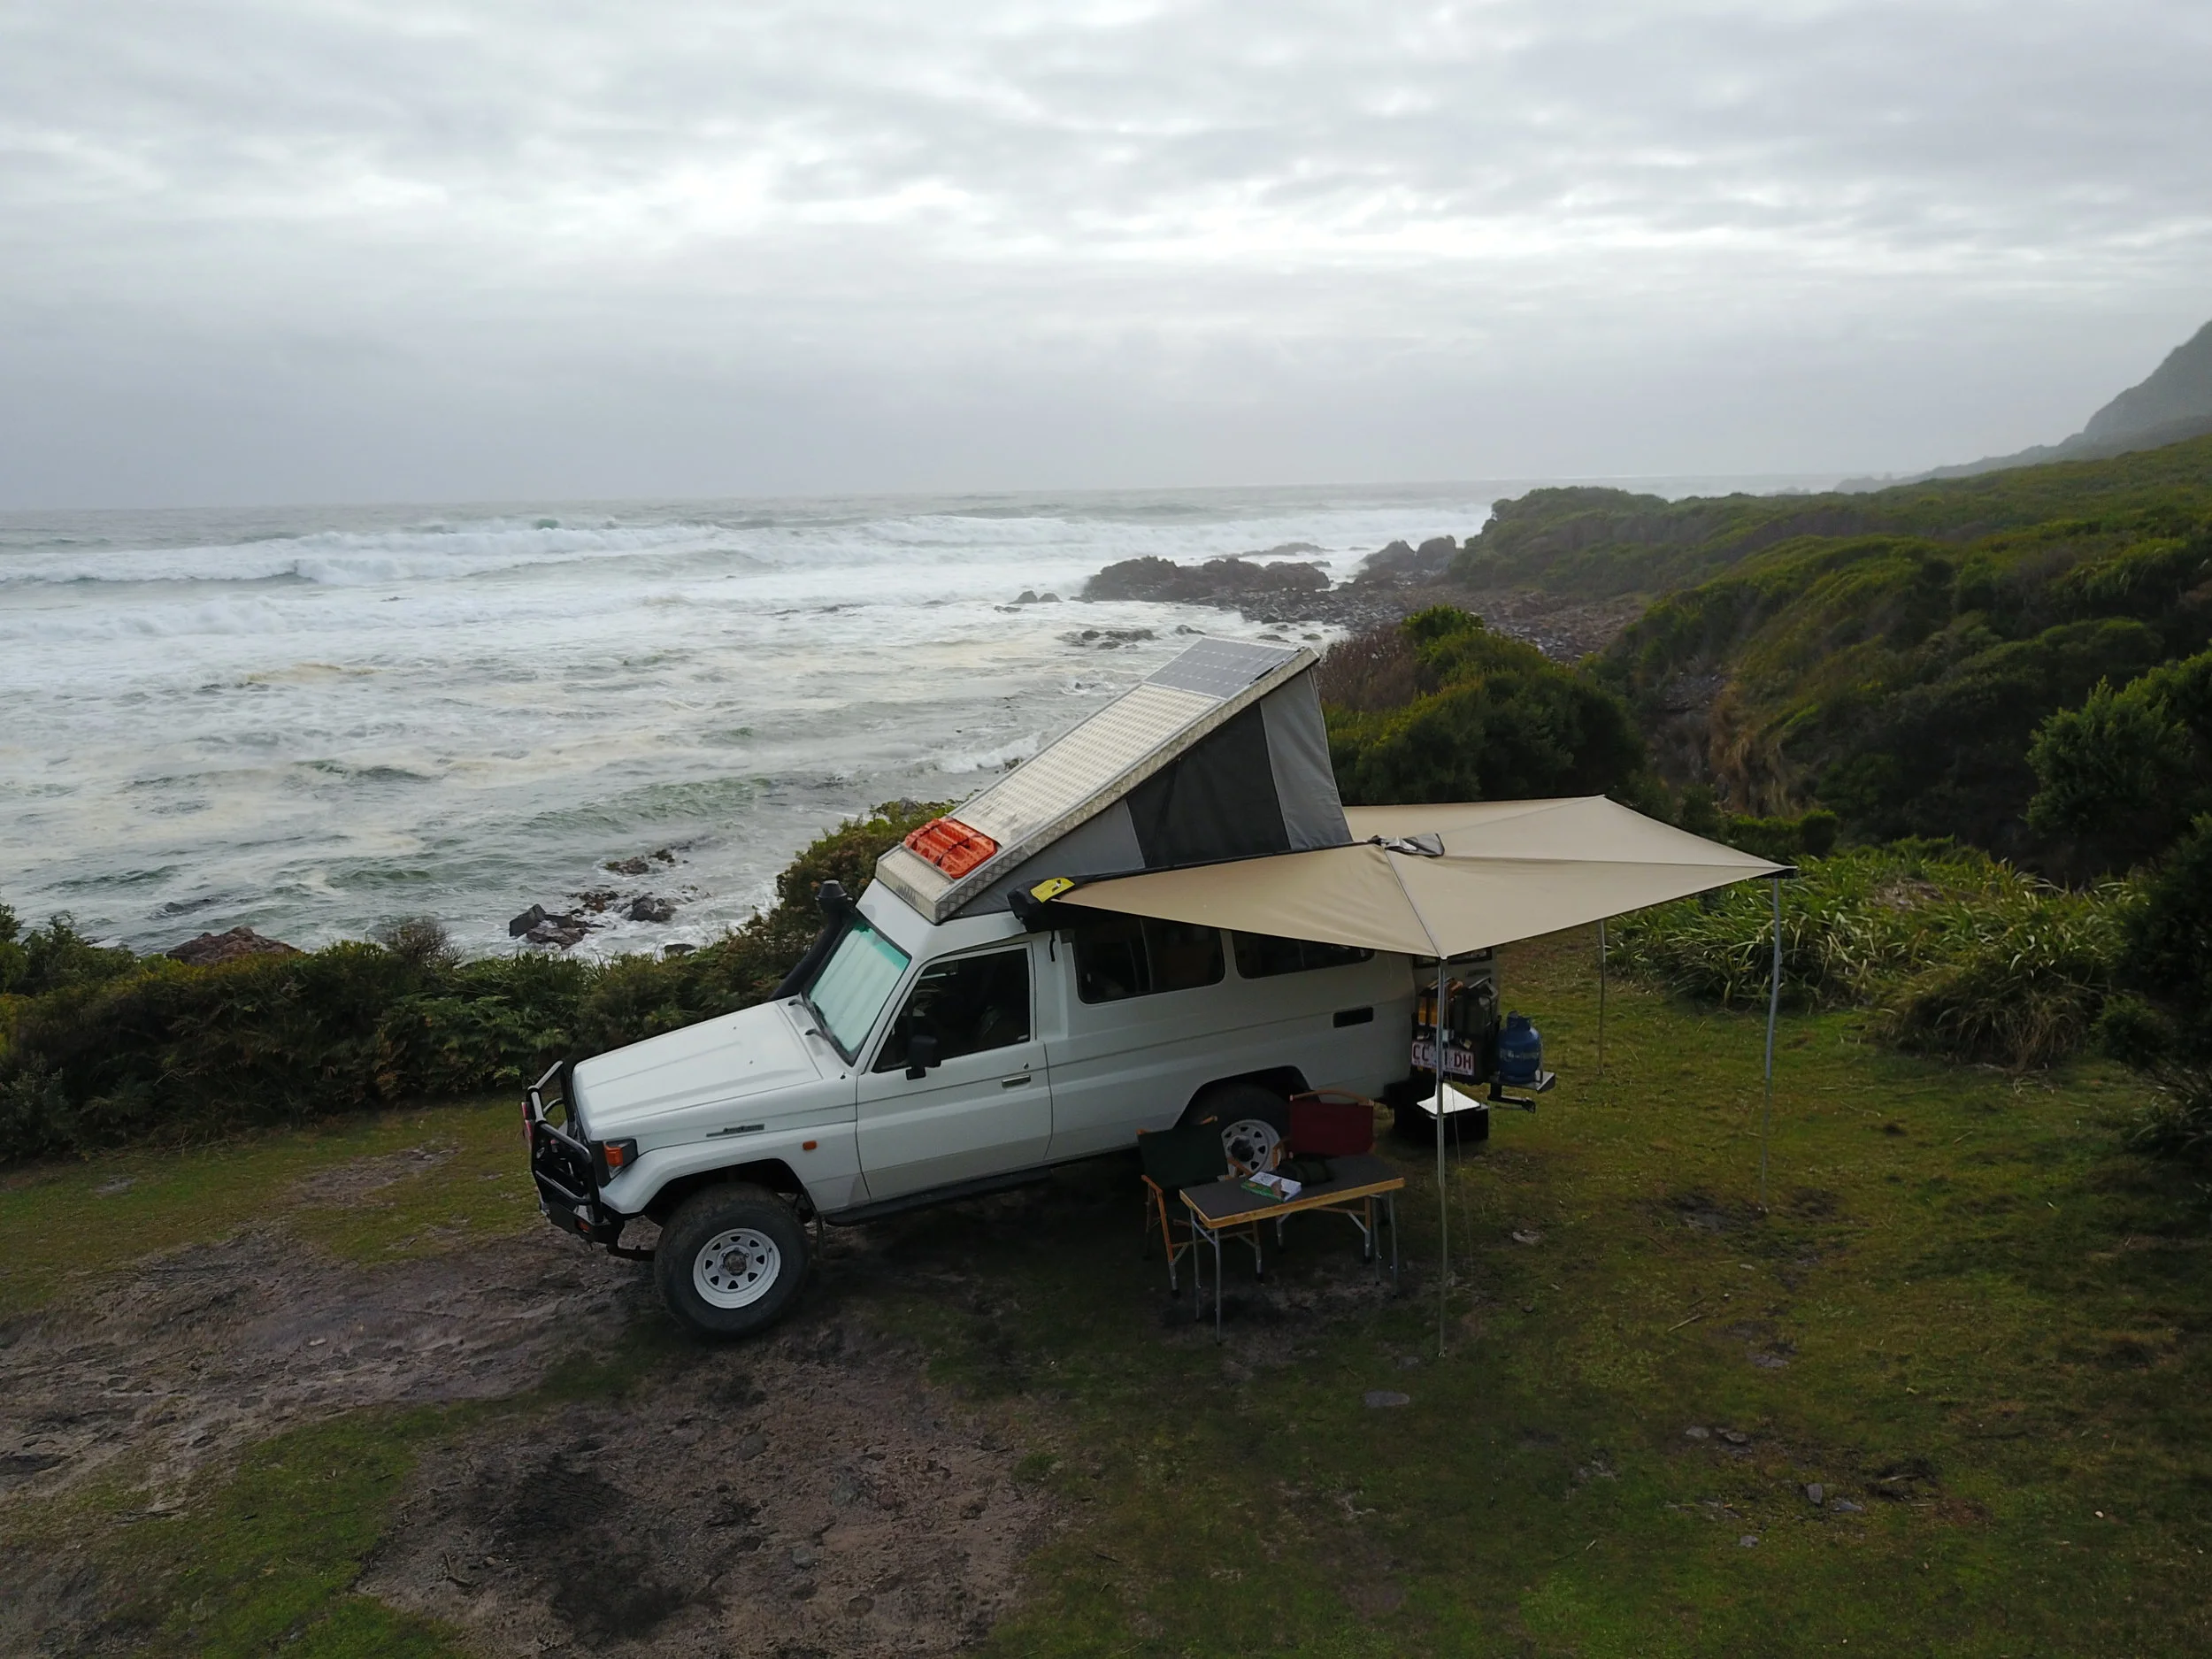
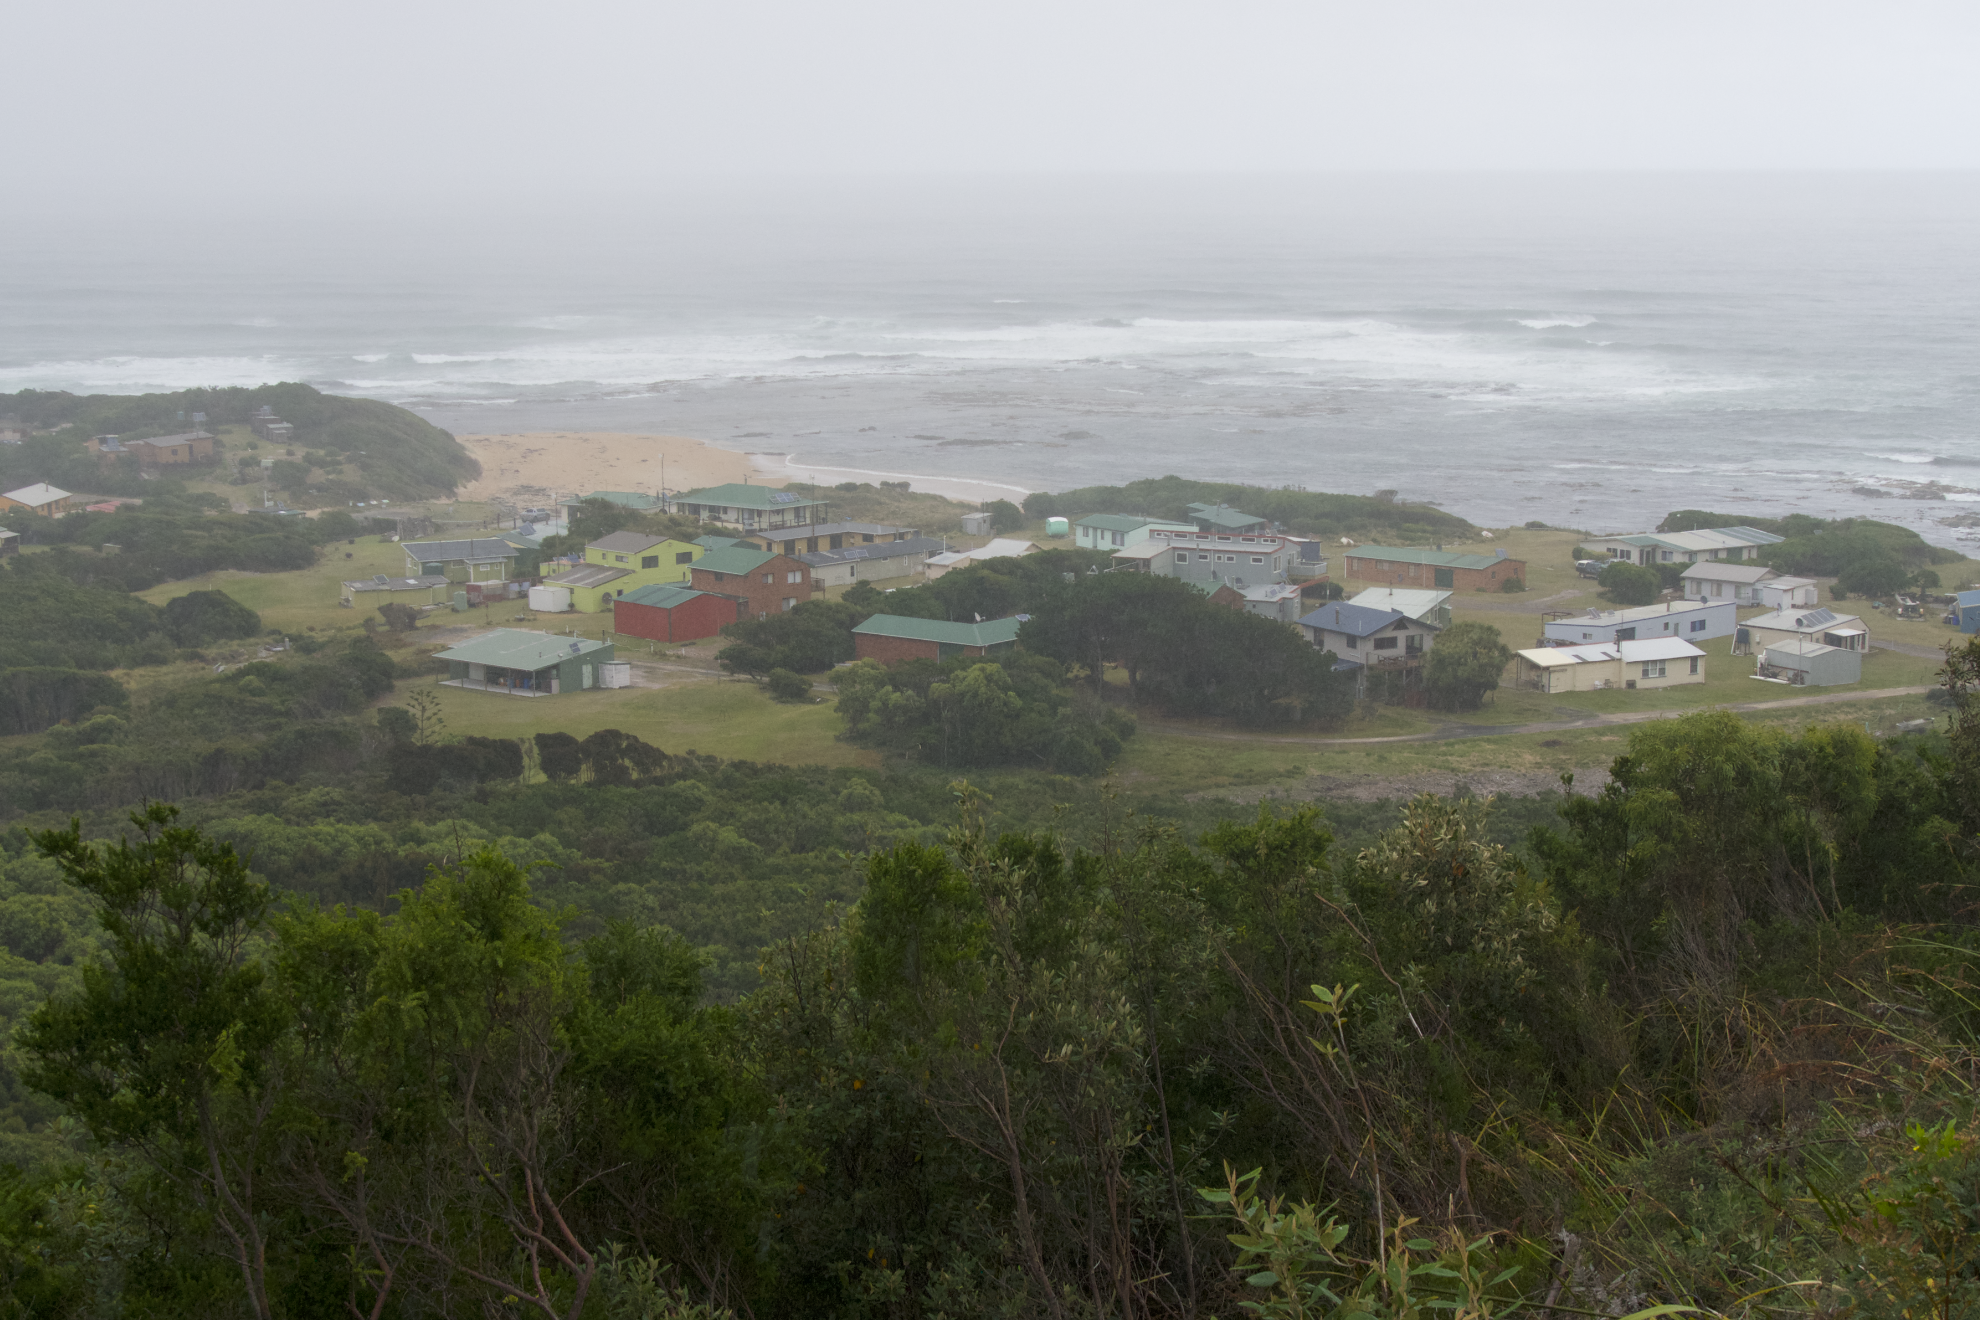
A sparse scattering of red and green prefab houses clustered behind the breakers—we later learned that Trial Harbor boasts 19 permanent residents. But camping? A hand-lettered sign pointed right. We followed it down a muddy single-track through the brush, spray from waves nearly misting the windscreen. And then there were openings, and a few campers: a Troopy with a pop-top remarkably similar to ours, a Mitsubishi Delica van—and a miraculous open space at the very end of the track, out of sight of anyone. The ocean crashed on to a rocky beach one wrong sleepy step below, and—more miracles—a gin-clear brook tumbled out of the hills just over a rise behind us. Incredulous, we raised the Troopy’s roof, staked out the Eezi-Awn Bat awning, and went looking for where to pay. There was nowhere to pay, just a clean outhouse reached via a charming wooden bridge, and another hand-lettered sign directing us to the “Ringing Rock”—an F350-sized boulder on the beach, decorated with ancient circular Aboriginal carvings, and which, when tapped with a small rock, rang like a metallic gong. (We found out later these are called lithophones, and are know from anthropological sites around the world.)
Back at the Troopy, we had a visit from fellow campers, a hilarious couple of gay Australian men in their 60s, who joked about whose turn it was to play “wife” and wash dishes or fetch water. I broke out the rum and mixed Dark’n’Stormies—appropriate given the setting—Roseann grilled the lamb we’d kept frozen from the superb Springbok’s Delight butcher shop in Sydney, and I played “wife” and washed up before we gazed up one last time at the Southern Cross winking in and out of view behind the clouds. The crashing surf became white noise as we drifted off to sleep.
Before we left next morning, we visited the town’s museum, run by resident Shirley Smith. It was a one-room marvel crammed with photos, memorabilia, and history from Trial Harbor’s early and recent days, along with the occasional curiosity such as the giant sunfish eyeball floating in a jar of formaldehyde. Cost? No cost, just a donation box. We left a lot, then turned the Land Cruiser back up the winding road, taking one last look as the colored houses of Trial Harbor faded into the ocean mist.
The moral of the story? I’m sure you’ve guessed it by now.
Take the road.
Headlamp restoration
I hate plastic headlamps.
Mind you, I’m delighted with the output and beam pattern of most modern headlamp* assemblies, which are as far ahead of sealed-beam technology as sealed beams were ahead of acetylene. But plastic is plastic, and while you might argue that polymer headlamp lenses are more resistant to stone chips than glass lenses, they eventually will discolor, renedering them semi-opaque and compromising their otherwise excellent performance—and also making them look like crap.
Our 2002 Tacoma Prerunner’s lamps were already well into the jaundiced phase when we took it over from my brother, and I recently decided to do something about it. So I went to the Griot’s Garage site.
I remember the early days of Griot’s, when most of their offerings were exotic and superb tools not available at Sears. My first exposure to Facom and USAG tools were through Griot’s. However, as time went on, Richard Griot (pronounced gree-oh) obviously discovered that the real money was in boutique car-care products such as cleaners, waxes, polishers, clay bars, and a myriad of accessories down to the level of oversize Q-tips for cleaning those pesky crevices in your alloy wheels. Only a few token mechanic’s tools remain among the latest offerings, but you can choose from among no fewer than five power buffers.
Still, any product I’ve bought from Griot’s has been first rate, so I ordered their headlamp restoration kit and set out one afternoon to see how it worked.
And it did, excellently. The entire process—masking the surrpunding trim, wet-sanding the headlamp lenses until the slurry turned from yellow to white, drying them off and prepping with an alcohol pad, and spraying on the new coating—took less than 30 minutes, and it was satisfying to watch the lenses, alarmingly cloudy-white from the wet sanding, turn sparklingly clear under the coating (said to be good for 24 months).
Was it worth $29.95? In terms of sheer results and ease of application, sure. Yet I found myself bemused by the contents of the box, which totalled:
One two-sided sanding pad, helpfully labelled “driver side” and “passenger side”
A couple of lint-free paper towels
Three alcohol prep pads
One 1.5-ounce spray can of the magic coating, good for exactly one set of headlamps
Coating aside, it would be stretching it to claim there was a dollar’s worth of material in the box. That leaves twenty nine bucks for an ounce and a half of coating. It works, but I suspect Griot’s is printing money on this kit.
*As an aside, technically the correct term for the device that lights the road in front of your vehicle is headlamp, not headlight.
Griot's Garage is here.
Quality camping gear: when (and when not) to economize
A recent Facebook dialogue regarding the post “OCTK Lite part 2,” and its comparison of quality in outwardly similar tools, reminded me of a column I published in OutdoorX4 some time ago regarding equipment quality in general. I thought it was worth revisiting. Herewith:
I’ve been reviewing outdoor equipment for 30 years now, and using it for a lot longer, in conditions ranging from 115ºF Sonoran Desert summers to Beaufort Sea storms. In a few situations I’ve felt the sharp realization that my life was quite possibly hanging on the quality of my equipment—lost in a winter storm skiing the North Rim of the Grand Canyon, caught seven miles offshore in a sea kayak in a Sea of Cortez chubasco—but in the overwhelming majority of circumstances it’s only been comfort, or the lack thereof, that has been affected by the gear I was using.
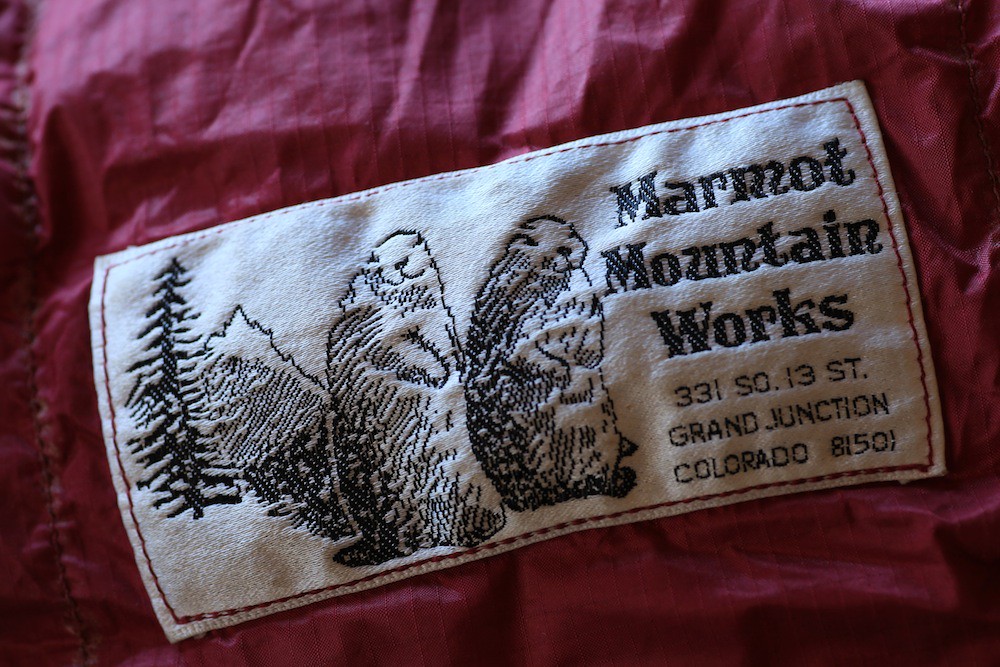
Nevertheless, in that time I’ve become convinced of the near-universal truth of this axiom: The best gear is also the least expensive in the long run. Spend more in the beginning on a quality piece of gear, and it will not only perform better, enhancing your comfort (and potentially your safety), it will also last longer, justifying its price over and over. Just one example is the Marmot Gore-Tex Grouse goose-down sleeping bag I bought in 1983. Scandalously expensive at the time on a penurious college-student budget, it has since seen untold nights of use, and has lost, as best I can estimate, perhaps a half inch of loft. I could go on with many other examples.
Okay, as I’ve been adminished many times, that’s fine in theory. But what if one simply does not have, say, $500 to spend on a sleeping bag, and $200 on a stove, and $50 on a double-wall titanium coffee cup? Am I suggesting that person stay home and leave travel to those who can afford bespoke equipment?
Not at all. My overriding goal in being in this business is to encourage people to get out exploring. One can only truly appreciate something if it is experienced in person, and if we are to preserve the most beautiful parts of our country and the world, we need people there seeing those parts and developing a bond of stewardship. And traveling and experiencing other cultures is the best way to stave off the xenophobia and isolationism that seems to be gripping our country these days.
Thus when I offer equipment advice to those just starting out, or looking at replacing worn out gear, and who are on a budget, I emphasize a strategy of priority. There are areas where economizing can be done without much compromise in comfort (or safety), and others where compromising would be foolish. Here are my ideas of where you should and shouldn’t economize.
Tent: This is the big one. While traveling and camping your tent is your home—your last line of defense against rain, snow, wind, and bugs. You can survive with a cheap sleeping bag, but if your $39.95 dome tent leaks in a shower, or collapses in a breeze, the best sleeping bag in the world won’t keep you comfortable—or safe. Whether you’re after a lightweight backpacking tent for motorcycle or bicycle travel, or a room-sized, stand-up model to carry in a vehicle, buy the best tent you can afford, and care for it well. (For an in-depth look at how to choose a good lightweight tent, see here.)
This Hilleberg is a good tent.
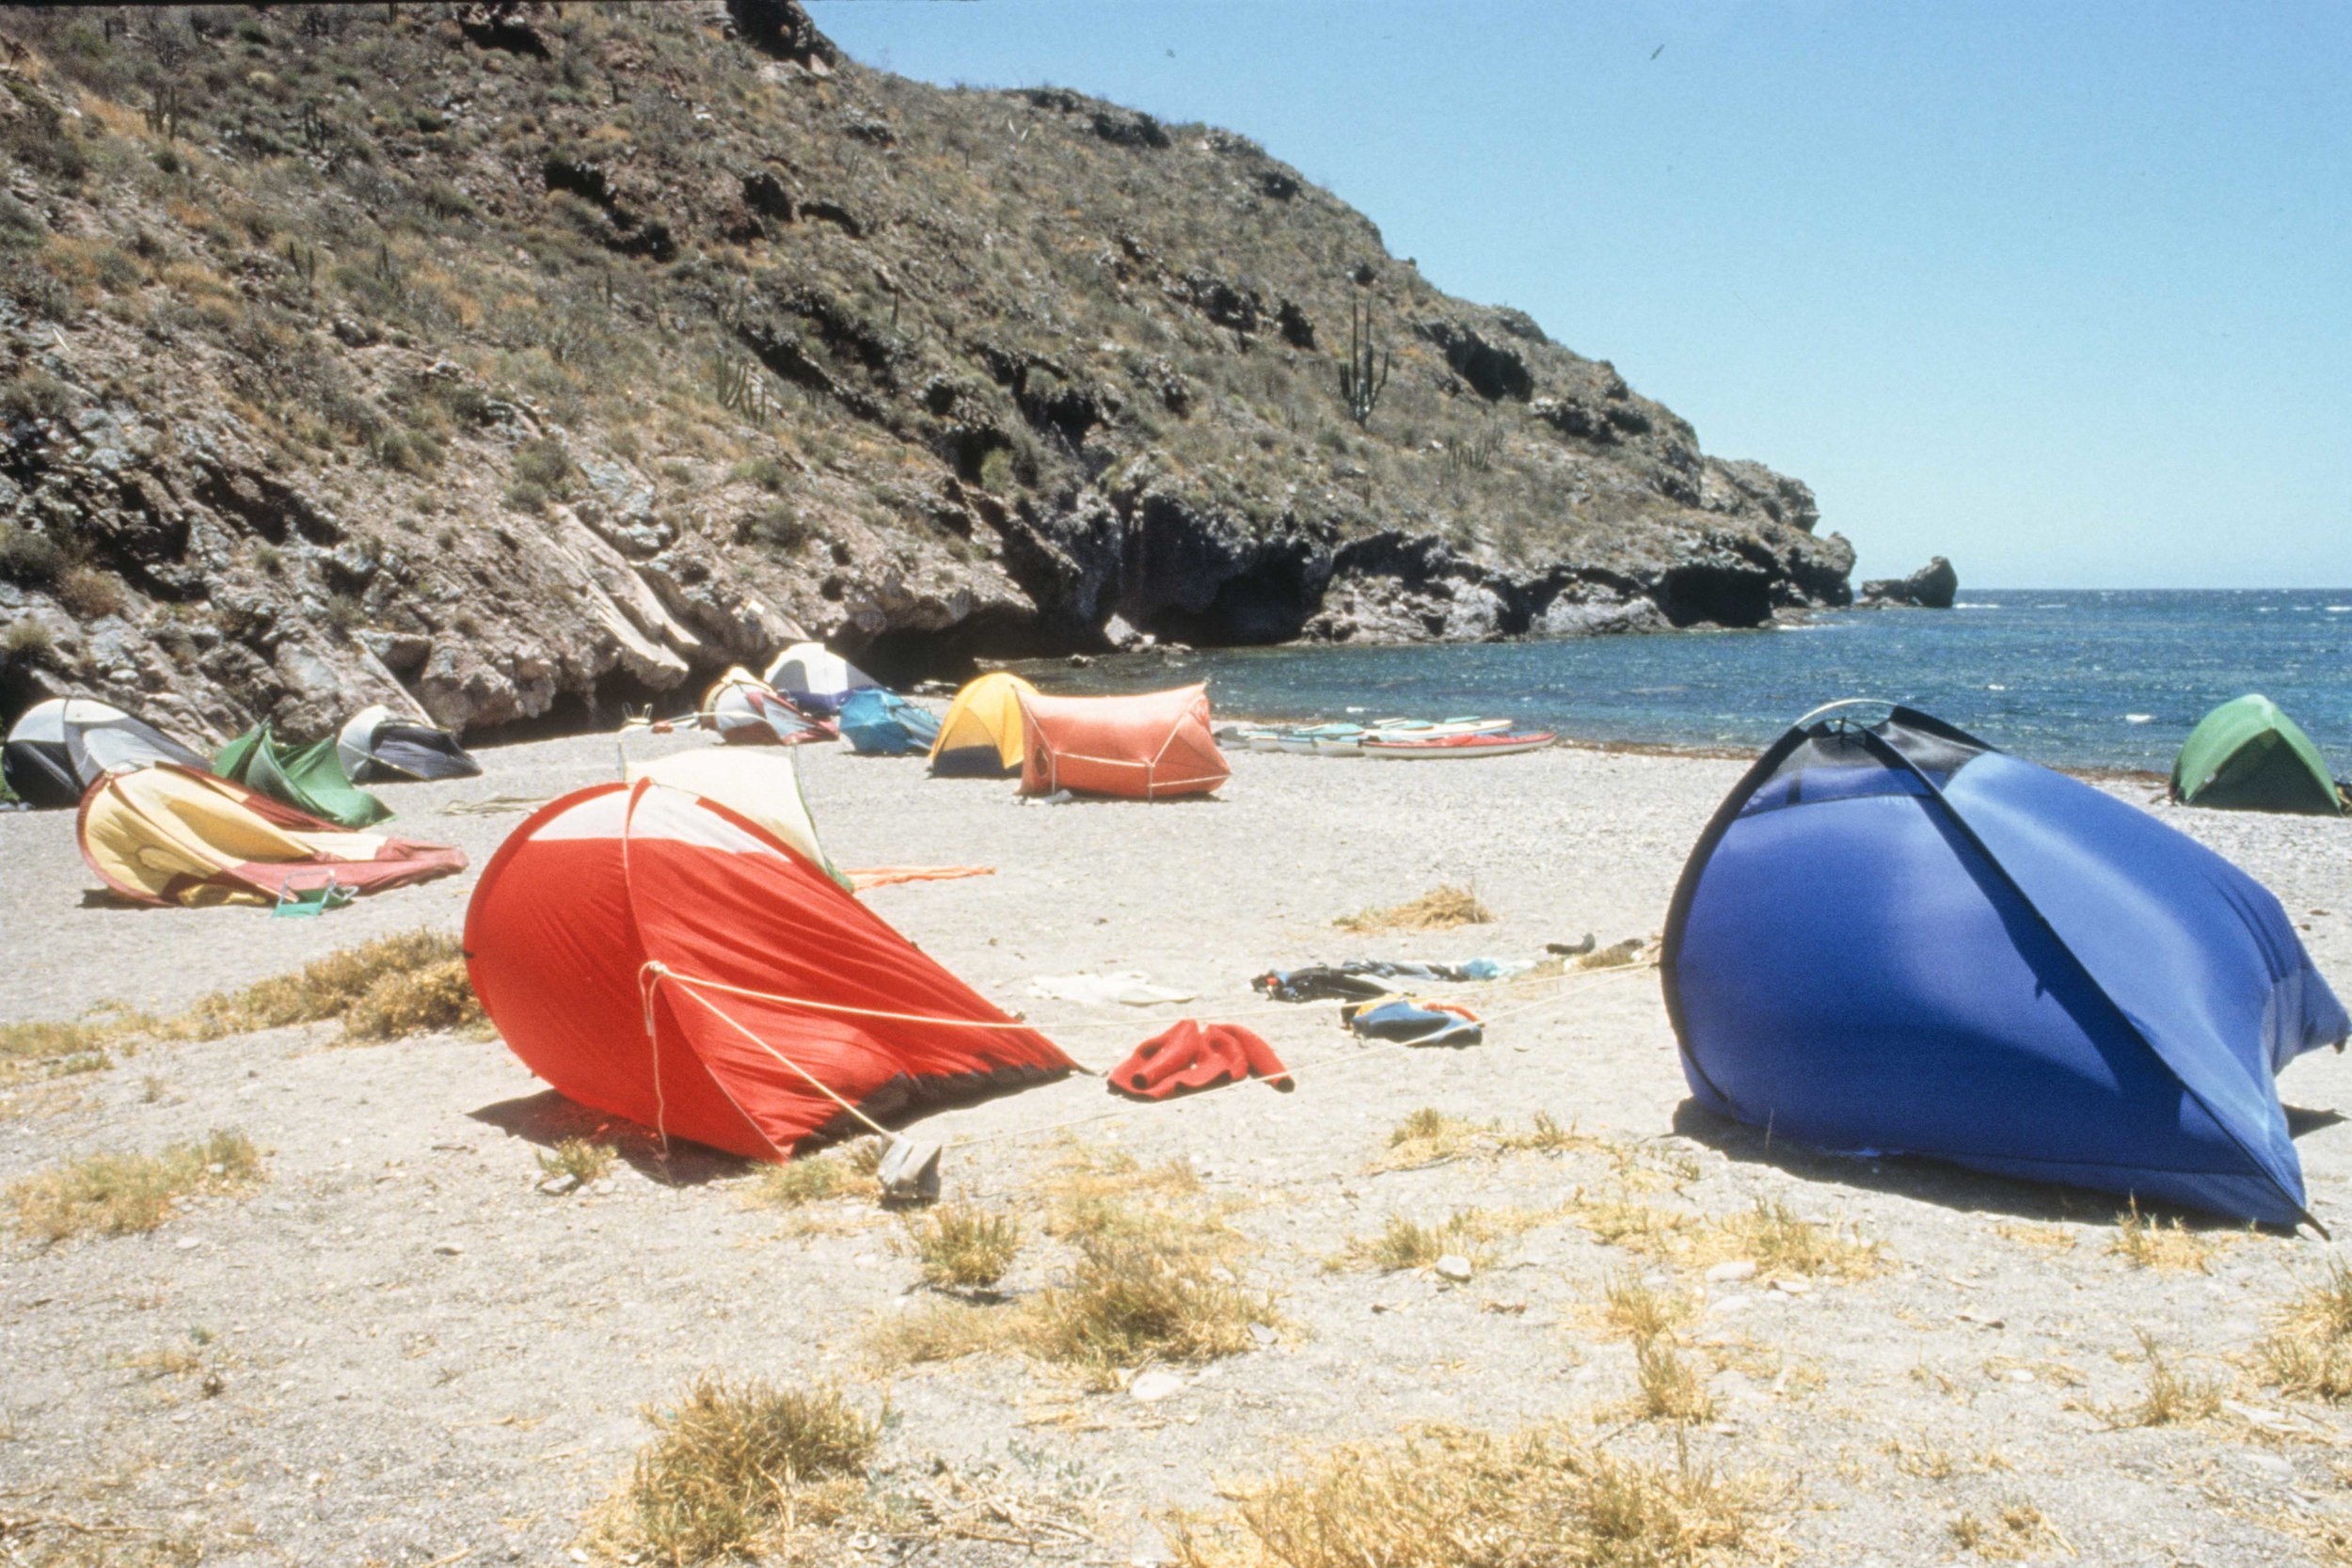
These are not good tents.
Sleeping bag: I own an exquisite, U.S.-made Western Mountaineering Sycamore MF sleeping bag stuffed with superb 850-plus fill-power goose down. It’s spacious, has a waterproof shell, is rated to 25ºF, and weighs barely two pounds. It cost $460, and I fully expect it to last the rest of my life. Yet, quite frankly, the $55 synthetic-fill Blue Jay bag from Wenzel, rated to the same temperature, would be just as warm, and cozier given the flannel lining. No, it won’t last as long, and it weighs over five pounds, which would be an issue if you’re motorcycling or pedaling, but for tossing in the back of the Tacoma, it’ll work just fine.
Sleeping pad: Yes, that $130 Thermarest LuxuryMap inflatable mattress is a dream to sleep on. But for about $70 you can buy a queen-size three-inch-think memory foam pad on eBay and cut two 30-inch wide sleeping pads from it.
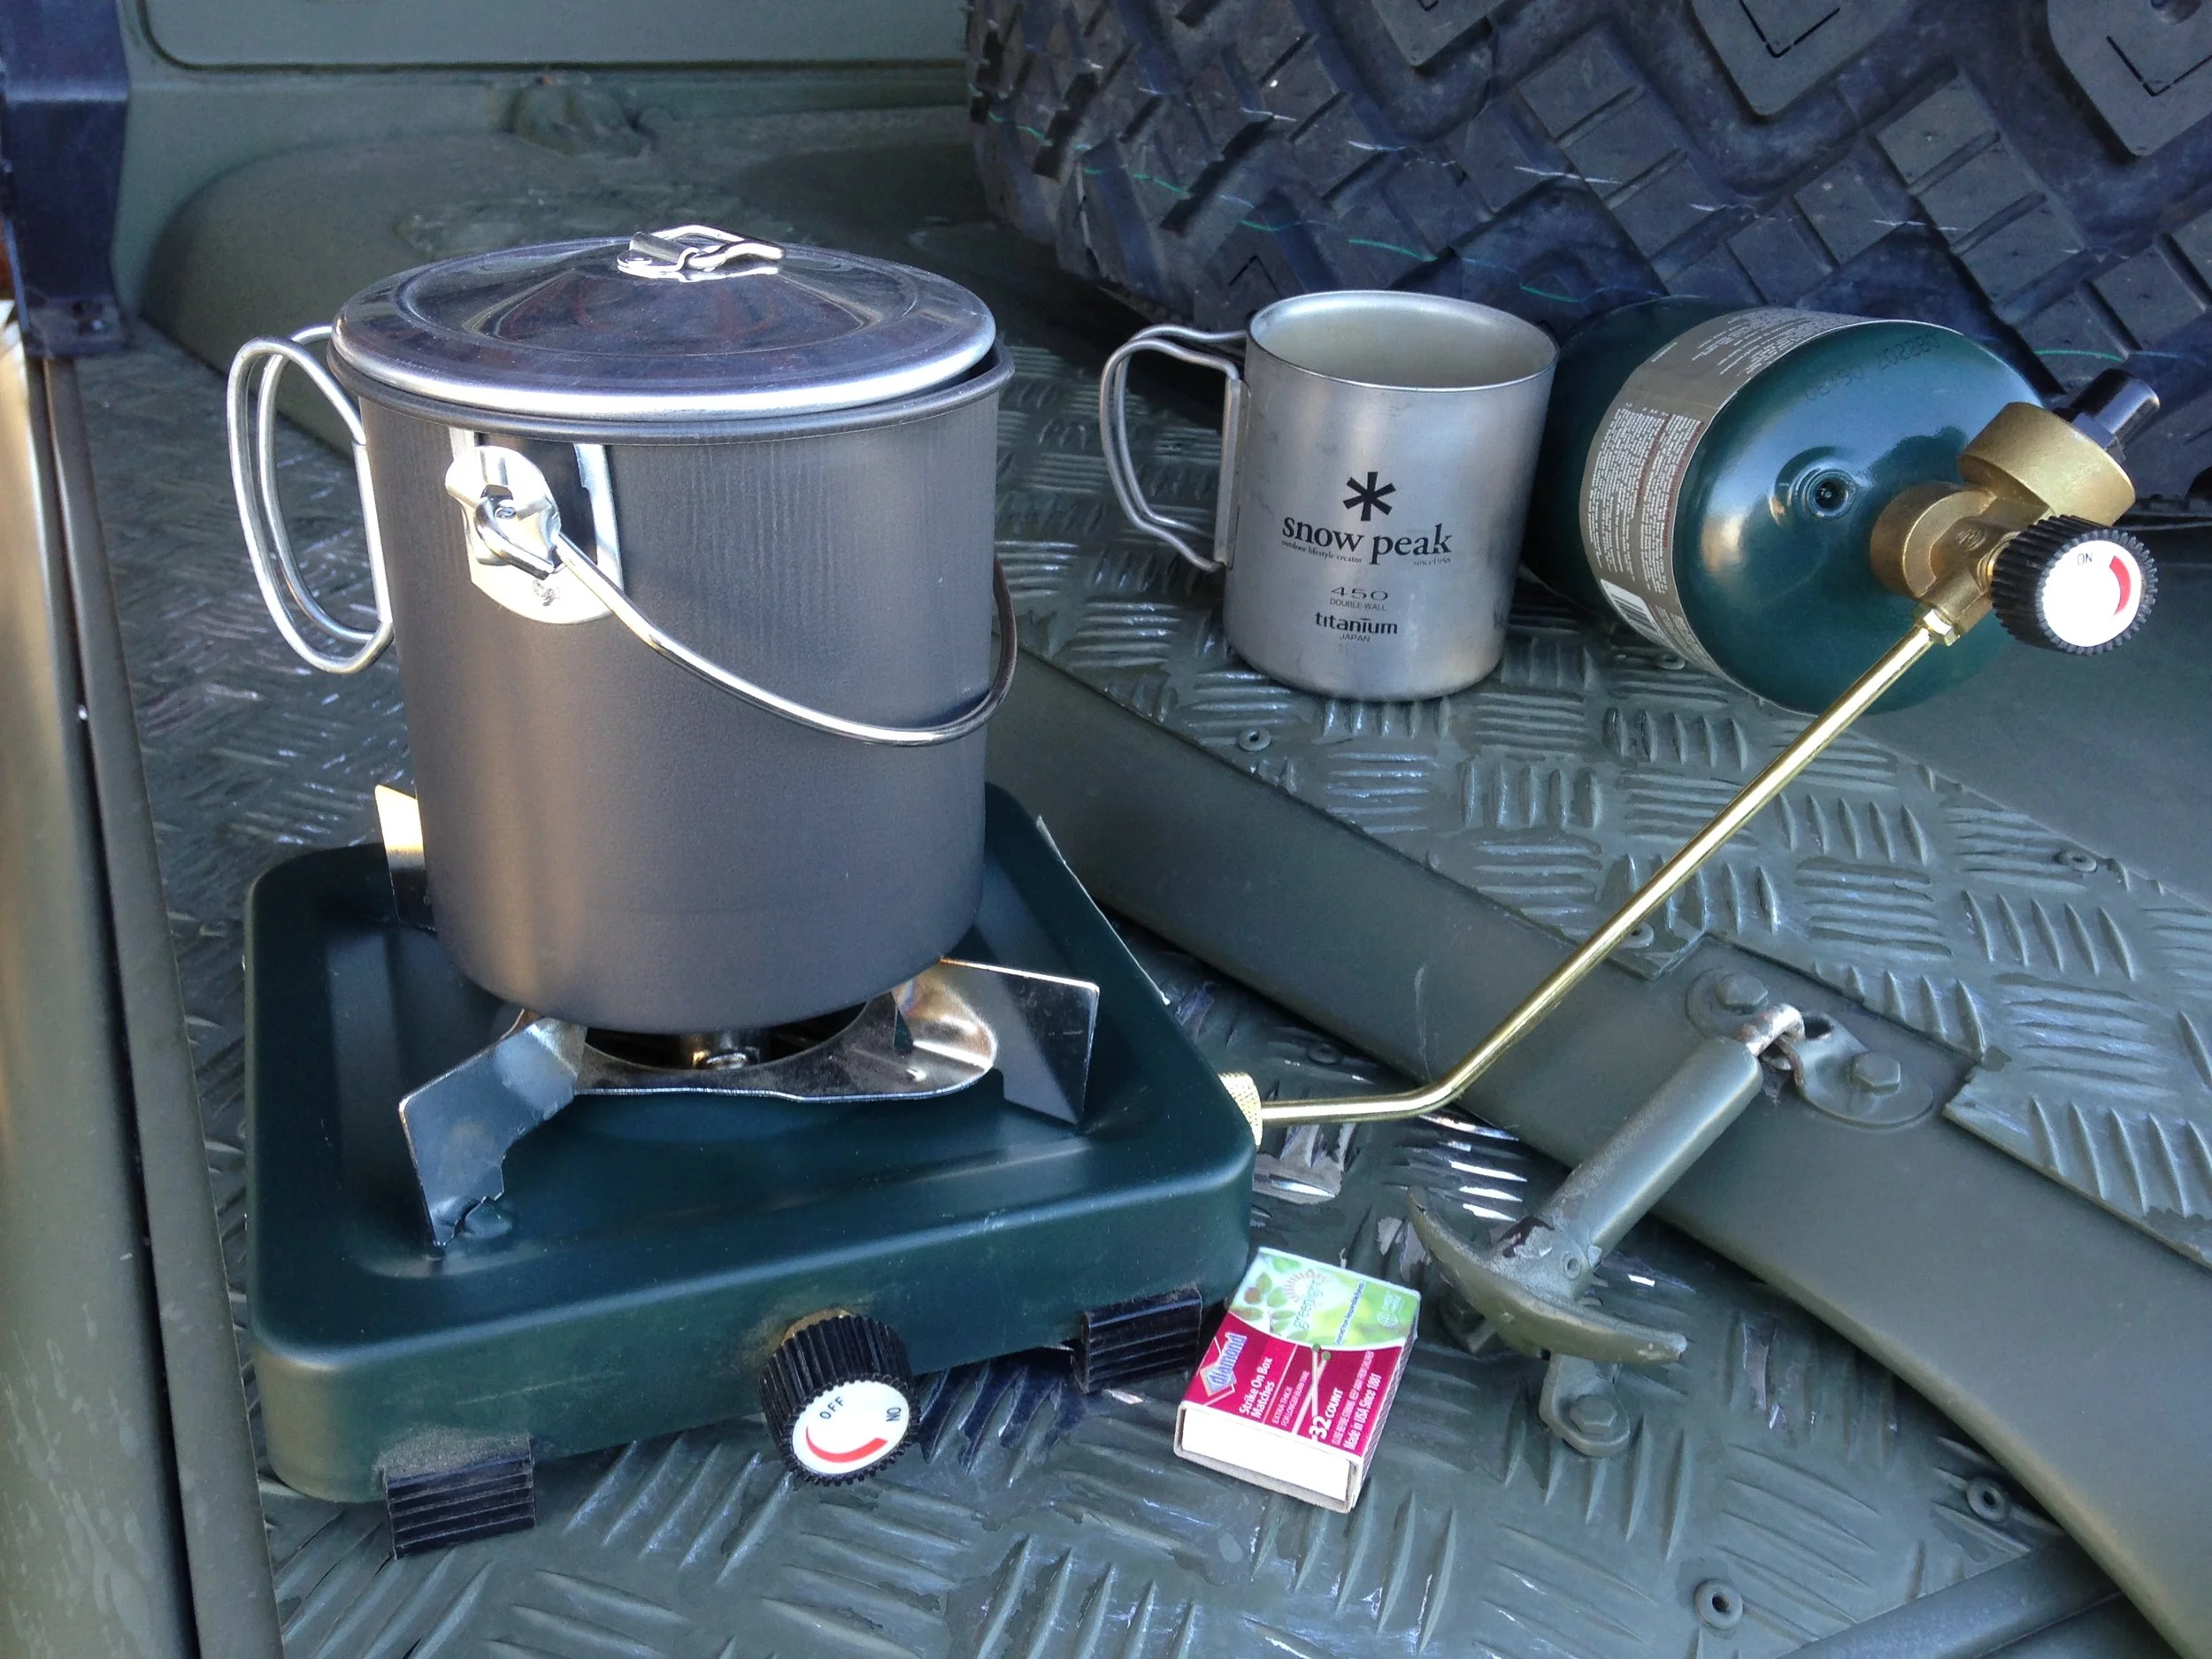
Stove: Connoisseurs of outdoor cooking swear by the dual-burner Partner Steel stoves, made to survive professional river guide abuse and stout enough to be employed secondarily as a tire ramp for working under your vehicle. But in my FJ40 I keep a single-burner Stansport propane stove that cost me $12.50 ten years ago and is still going strong.
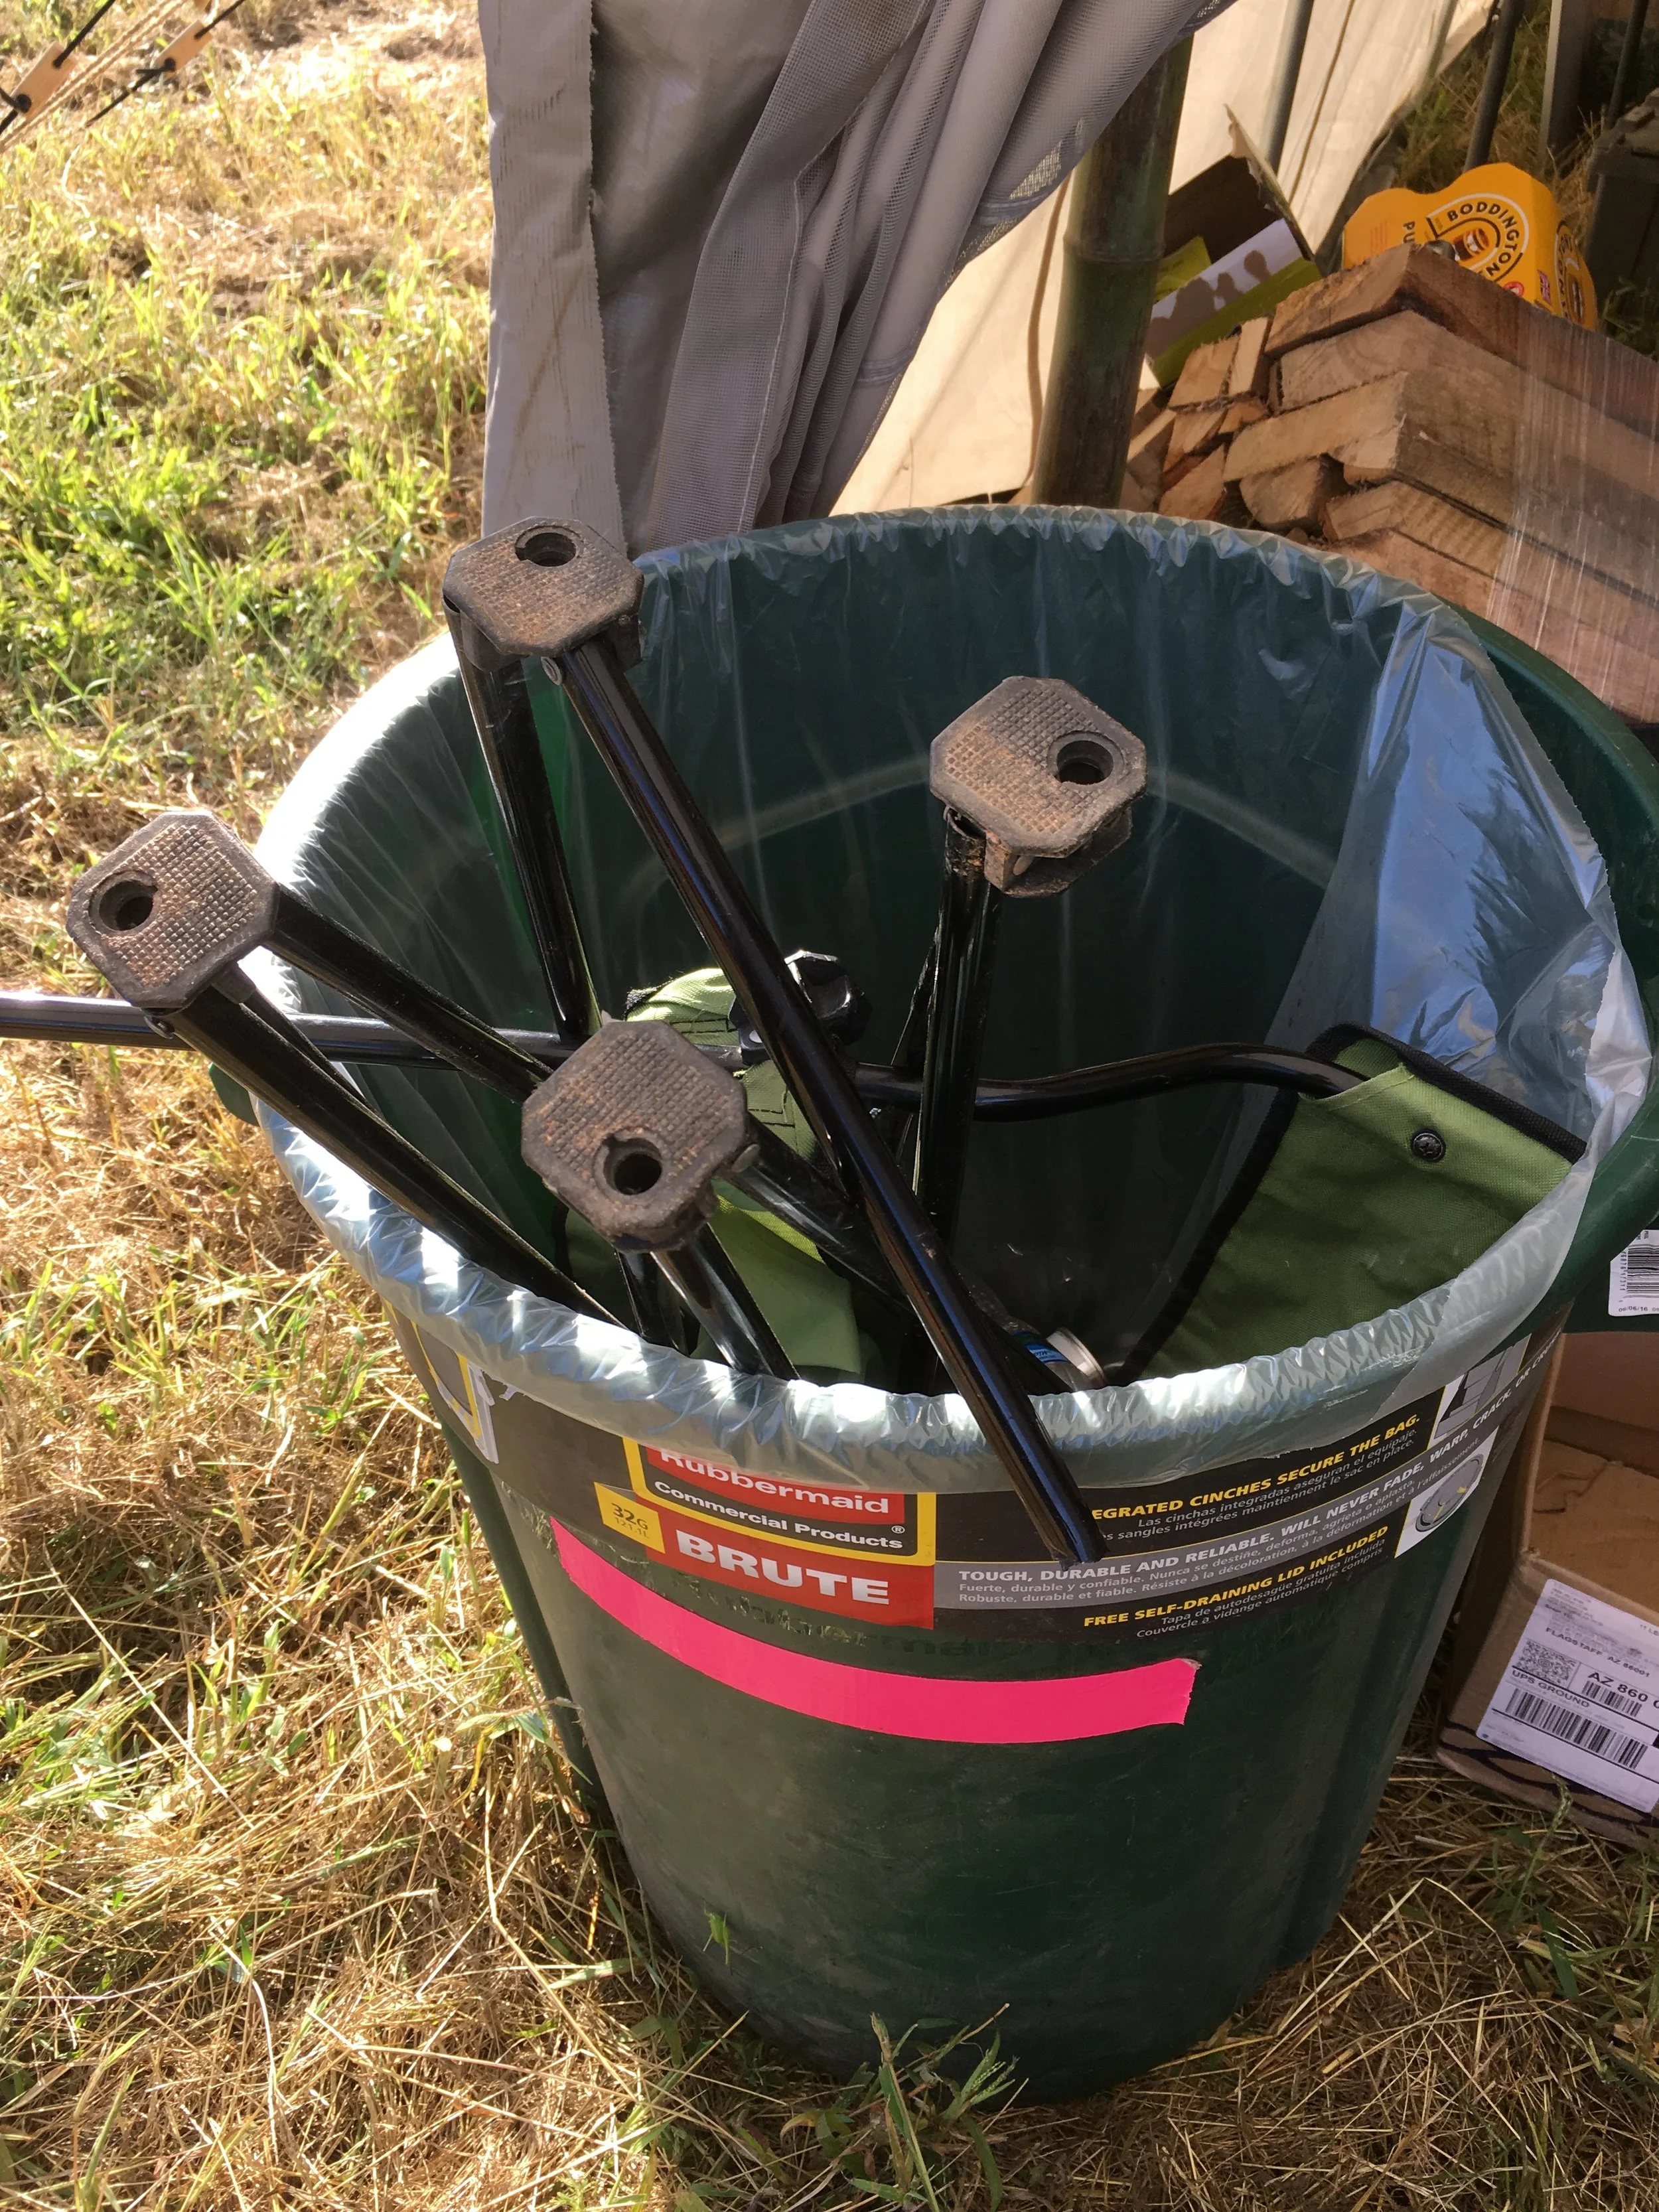
Camp chair: No matter how active you are, you’ll spend a lot of time in camp sitting. Do yourself a favor and skip the $20 specials with 30 plastic joints on them. I’ve lost count of the broken ones I’ve encountered—cleaning up after each Overland Expo we always find a half-dozen of them in dumpsters, a criminal waste of the planet’s resources. Look at the brilliant (and handsome), made in the U.S. Kermit Chair, which can be carried on a motorcycle or transformed into a full-size chair, the fine GCI Pico, or the bulkier but sturdy Picnic Time Sport Chair with its built-in cocktail table.
Coffee mug: Motorcycling or bicycling? Go for that Snow Peak titanium model. Driving a truck? If you spent more than $10 you’re just showing off.
Stove: $12.50. Mug: $45
Two kits that will (almost) breakdown-proof your vehicle
Our modern four-wheel-drive vehicles, virtually without exception, are far, far better machines than those we traveled with 30 or 40 years ago, the rose-tinted recollections of some of us nothwithstanding. (See here for a direct comparison.) Yes, they are vastly more complex: The average car today has between 25 and 50 electronic control units or ECUs (the Bentley Bentayga has 90)—some linked, some independent—controlling everything from shock absorber adjustment to accident-avoidance braking. But those complex systems have brought us more power, better fuel economy, a huge improvement in safety, and cleaner air—all at once.
Despite this complexity, vehicles in general are more reliable than ever. Solid-state ECUs are incredibly stable and durable; precision design and manufacturing processes and advances in metallurgy have made engines and other drivetrain components much longer-lasting. A car with 100,000 miles on the odometer used to be noteworthy; these days, beater pizza-delivery Civics with 200,000-plus under their faded paint are as common as Domino’s outlets. When something does go wrong, the car will quite likely be able to tell the mechanic what is is. How long will it be before a car can sense a part about to fail, then automatically log onto Amazon and have the piece waiting at the shop when the self-drive function reroutes you there?
These advances have made overland travel easier and safer as well, even if—to be fair to those rose-tinted recollections—if something does go wrong in the bush you won’t be regapping the points with a matchbook cover if the dwell shifts, or disassembling the carburetor and popping in a rebuild kit if a gasket goes bad. (But since we no longer have points or carburetors . . .)
One thing has not changed, and that is the two types of problems behind the vast majority of issues in the backcountry that bring a vehicle to a halt: tire punctures and dead batteries. (Number three—at least on the road—according to the AAA? Locking the keys in the car.)
While tires and batteries have also been improved significantly in the last few decades, both are wear items and are subject to the whims of chance, whether it be a jagged root holing a tire or any number of things draining a battery.
What this means, however, is that with just two kits in your vehicle you can fix the vast majority of things that are likely to go wrong in the backcountry.
- A backup for the starting battery
- An air compressor and tire repair kit
Let’s, er, start with the battery. A lot of people now have dual-battery systems in their overlanding vehicles, so the auxiliary can be used to power fridges, etc. without draining the starting battery. Most of these systems have a switch that will tie in the auxiliary to the starting circuit when needed, thus solving the problem of a dead main battery in a few seconds. If there is no switch, the auxiliary can be physically swapped with the main battery. Since the chances of two batteries dying simultaneously—at least when installed with a proper isolating system—are scant, you’re more or less immune to battery woes.
A dual-battery system with an automatic isolator, such as this excellent National Luna, will virtually guarantee starting power for your engine
If you have only a single battery for all your systems, I have just one word for you: Microstart. These have been around for several years now and I’ve been preaching their gospel to the point of fanaticism, but I still run into people who have never heard of the product and are blown away when I jump-start their dead 3/4-ton pickup with a battery the size of a VHS tape. I have used and abused a half-dozen of them (we keep one in every vehicle) and they’ve performed perfectly. Early on in their history, master fabricator Tim Scully and I wondered if they could be used for field welding. We duly hooked up three in series and produced several excellent beads, after which the trio continued to work perfectly for their intended use. When I called Scott Schafer at Antigravity Batteries he expressed mingled astonishment and horror at what we had accomplished. (Current Microstarts include an overload device that prevents such shenanigans. Blame Tim and me.) In any case, a Microstart will that ensure a dead starting battery will not leave you stranded. Buy the XP-1 if you have a gasoline-engined mid-size SUV, or the XP-10 if you have a big diesel-powered truck, and top it up (on either AC or DC) every four or five months.
The only real alternative to safeguard a single battery is a low-voltage cutout, which will shut off current flowing from the battery if it senses voltage dropping to levels that would make the vehicle difficult to start. While this might be fine as a backup, I've found that a lot of people who install them are overburdening their battery to begin with, for example by running a fridge while still relying on the battery to turn a high-amperage starter. Better to go with a dual-battery system if you have that much draw.
That leaves tires. As with batteries, they’re a lot tougher and longer-wearing than in years past, but still vulnerable to damage, especially when driven on rough roads and trails. Yet I’m surprised at how many overlanders confine their backup tire kit to a single spare and perhaps a can of Fix-a-Flat. We can do better, and all it takes is a compressor and a proper tire-repair kit.
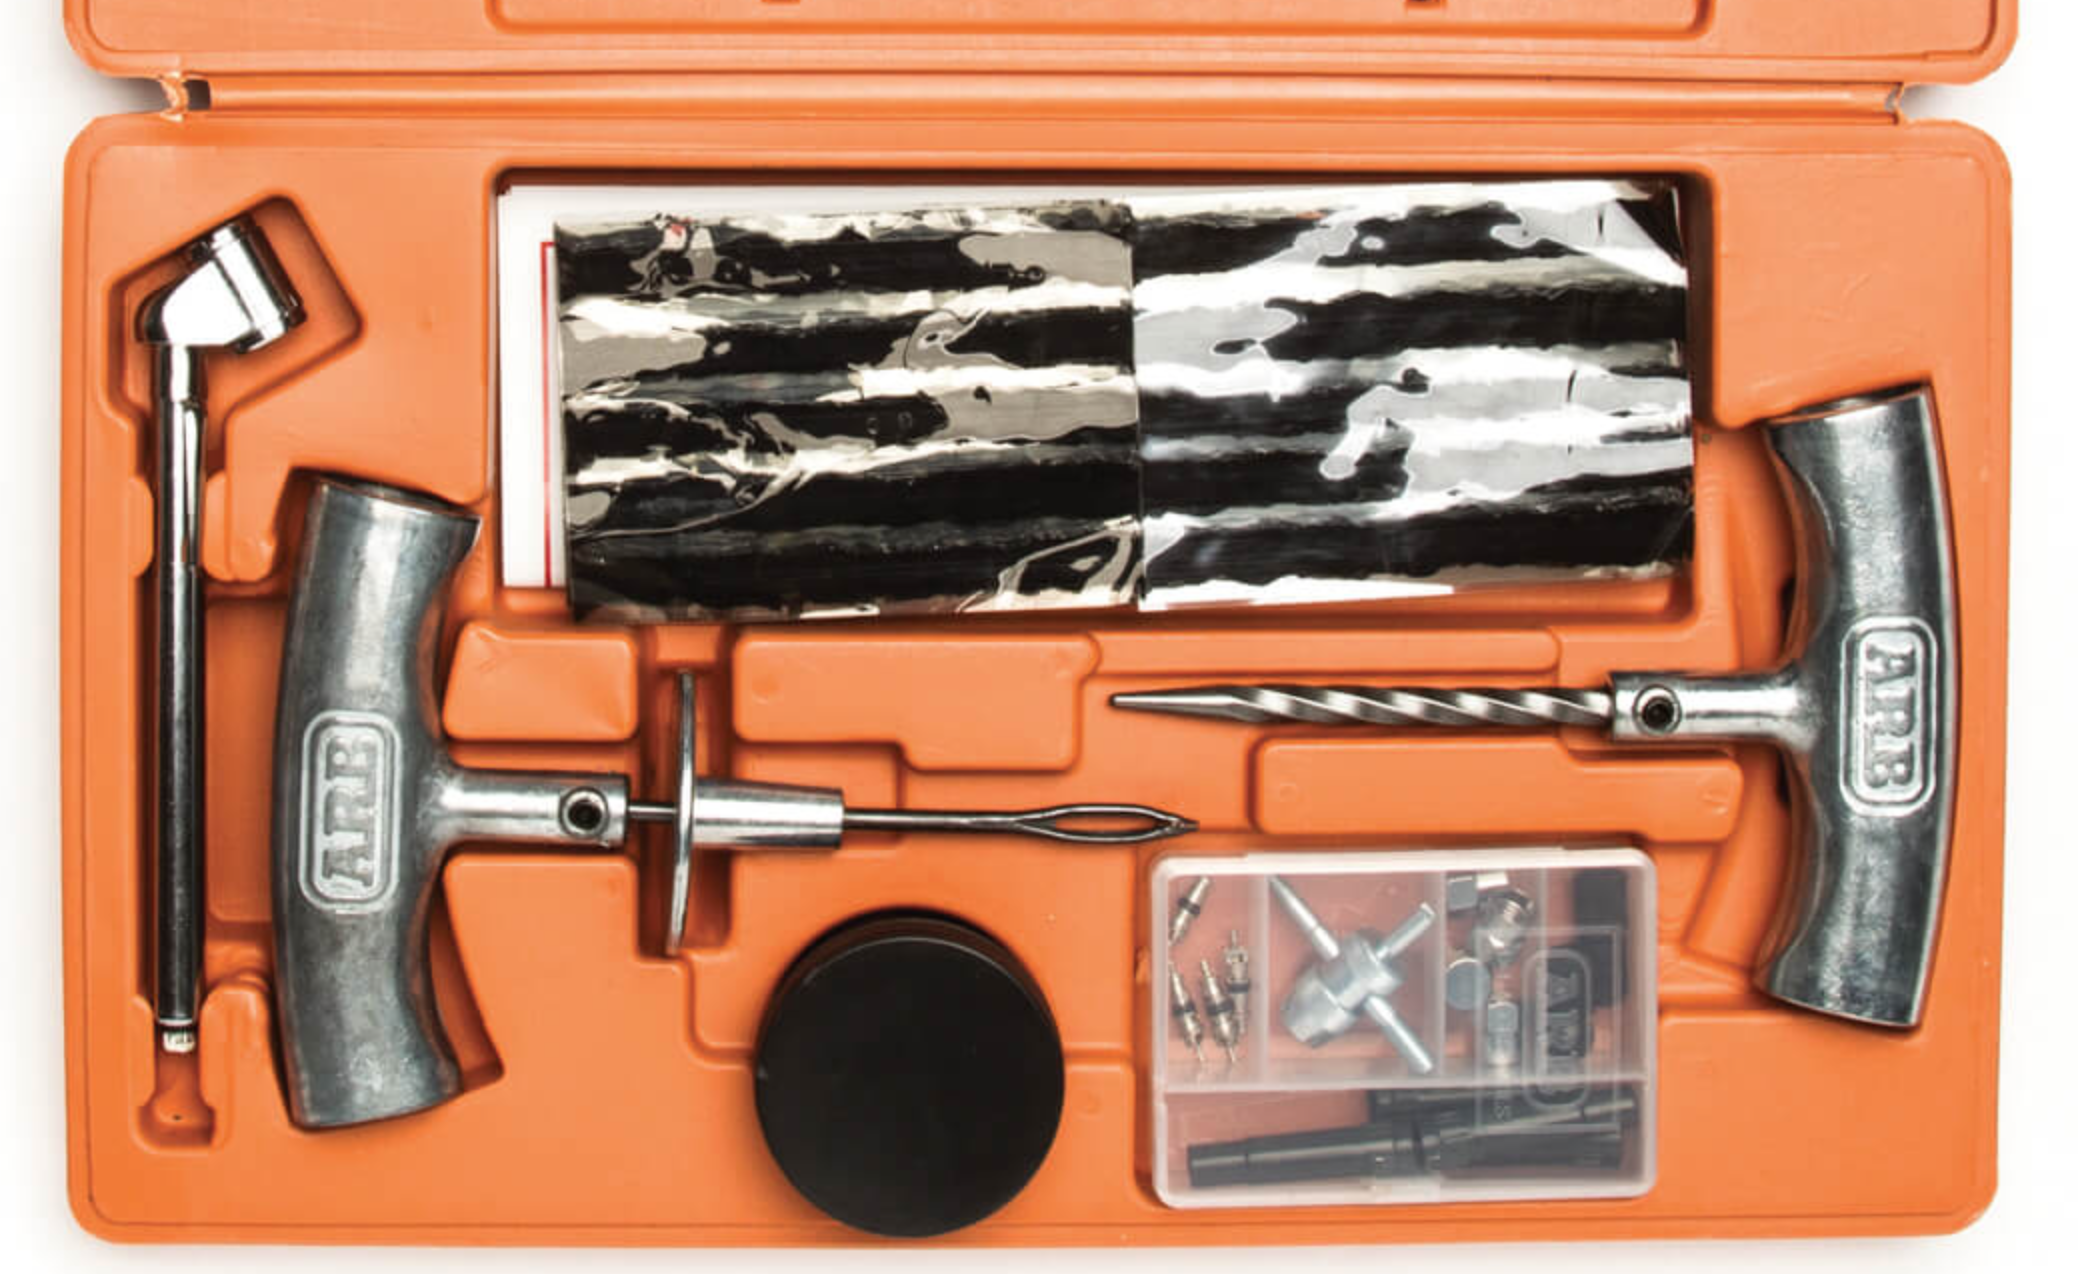
The repair kit is easy. At its most basic you want a plug kit, which will handle the majority of punctures within the tread area, usually without even needed to remove the wheel and tire from the car. But skip the Pep Boys versions and get a good one. This isn’t just tool snobbery talking: plugging a tire involves shoving pretty hard on the reaming tool and the plug-inserting tool. You do not want a cheap plastic-handled tool breaking during the procedure. ARB makes an excellent plug kit with everything you need for most simple punctures. If you want to step up from that and be prepared to handle virtually any tire problem short of a carcass-shredding blowout (including sidewall splits and broken valve stems), get the Exptreme Outback Ultimate Puncture Repair Kit. It’s expensive at $99, but you’ll never have to buy anything else to repair tires as long as you live.
The ARB Speedy Seal kit includes a proper metal-handled reamer and plug inserter.
Once the tire is repaired you’ll need to re-inflate it. While there are air compressors available from $19.95 on up, skip the cheap ones. They fail with miserable frequency, and even when working are so slow that you could hike out, buy a better unit, and be back before your tire is properly inflated. At a bare minimum get one of the ubiquitous Super Flow MV50 units, which are available from around $60. The MV50s have their issues but in general are reliable and reasonably fast, and if you’re a tinkerer there are dozens of web articles detailing worthwhile hacks for the product.
Personally I prefer buying a better compressor to start with, both for repairing tires and for the much more frequently needed function of airing all four tires back up after airing them down for trail driving. To step up in quality look at the Viair units and anything from Extreme Outback. My current favorite compressor is the blindingly fast ARB Twin, expensive but worth every penny. Use the Twin to air up and you’ll be finished with your own vehicle and a friend’s before someone with an MV50 has done two tires.
The ARB Twin is available either as the portable kit shown here,which includes an air tank for operating air tools, or as a stand-alone unit for hard mounting in the vehicle.
Part of what defines overlanding is self-sufficiency. Making sure battery and tire troubles can’t bring you to a halt will go a long way toward guaranteeing that self-sufficiency—and if you travel far off the beaten track might just save you a sat-phone call and a very expensive recovery.
Fractal exploration . . .
My 1973 Land Cruiser attracted a lot of attention at this year’s Overland Expo West. However, I noticed a prevalent attitude in the questions I got. A lot of people seem to view a nicely maintained 44-year-old FJ40 as nothing but a museum piece, suitable for the odd retro run, collecting wistful “I wish I’d never sold mine” comments at Cars and Coffee, or day drives on nearby trails with lunch and a cooler of soft drinks on board. Actually traveling in it? That would be . . . a little crazy, wouldn’t it? Even a friend who’d owned a soft-top Jeep Wrangler TJ—not exactly a Bentley Bentayga by comparison—noted, “You wouldn’t want to go too far in this, would you?” during a grueling 20-minute errand run around Flagstaff.
To which my response is, What have we become? Have we reached a point at which, if our overland vehicle doesn’t have 80mph cruise capability, dual-zone climate control, 500 pounds of sound deadening, magnetorheological dampers, and a 16-speaker Burmeister entertainment system, it’s just not worth the hell of going anywhere? A recent thread I spotted on a Land Cruiser forum was titled “FJ40 long range use?” as if the poster was not even sure it was legal.
There are exactly three “disadvantages” to long-distance travel in an FJ40, assuming it’s been maintained to be reliable:
- It doesn’t like to go fast.
- It’s loud.
- It doesn’t have a lot of cargo space.
The first two issues can be solved at the same time: Don’t drive as fast and it won’t be as loud. Fifty five miles per hour is a comfortable cruise speed in a 40. Sixty isn’t bad, and 65 is okay if you need to take an interstate somewhere. You won’t be doing 700-mile days in an FJ40, but 400-mile days are easy if you’re transiting to get someplace special. Still too loud? Use ear plugs like motorcyclists do.
Ah, but what about those leaf springs, massive solid axles, and that 90-inch wheelbase? No, an FJ40 is never going to be a Land Rover Discovery, but then it’s never going to detonate an air bag in the outback, as two Discos I’ve been with personally have done. And with a set of medium-rate Old Man Emu springs and shocks, our 40 rides better than our 2012 Tacoma did stock.
That “transiting” I mentioned earlier? That is the magic of traveling in a slow, loud vehicle. In an FJ40 you don’t look at the map and set your sights directly on a destination—you look more closely at that map and think, What can we see between here and there? And more often than not that leads to discoveries you would have blasted right past at 80 in your 4Runner or Tahoe.
Don’t get me wrong: We love our Four Wheel Camper and V6-powered, air-conditioned Tacoma. But we also like to slow down every once in a while and enjoy what I’ve called Fractal Exploration: You take smaller bites of the world, and examine them more closely.
An FJ40 Land Cruiser is the perfect vehicle for that.
Hint: When using “Search,” if nothing comes up, reload the page, this usually works. Also, our “Comment” button is on strike thanks to Squarespace, which is proving to be difficult to use! Please email me with comments!
Overland Tech & Travel brings you in-depth overland equipment tests, reviews, news, travel tips, & stories from the best overlanding experts on the planet. Follow or subscribe (below) to keep up to date.
Have a question for Jonathan? Send him an email [click here].
SUBSCRIBE
CLICK HERE to subscribe to Jonathan’s email list; we send once or twice a month, usually Sunday morning for your weekend reading pleasure.
Overland Tech and Travel is curated by Jonathan Hanson, co-founder and former co-owner of the Overland Expo. Jonathan segued from a misspent youth almost directly into a misspent adulthood, cleverly sidestepping any chance of a normal career track or a secure retirement by becoming a freelance writer, working for Outside, National Geographic Adventure, and nearly two dozen other publications. He co-founded Overland Journal in 2007 and was its executive editor until 2011, when he left and sold his shares in the company. His travels encompass explorations on land and sea on six continents, by foot, bicycle, sea kayak, motorcycle, and four-wheel-drive vehicle. He has published a dozen books, several with his wife, Roseann Hanson, gaining several obscure non-cash awards along the way, and is the co-author of the fourth edition of Tom Sheppard's overlanding bible, the Vehicle-dependent Expedition Guide.


