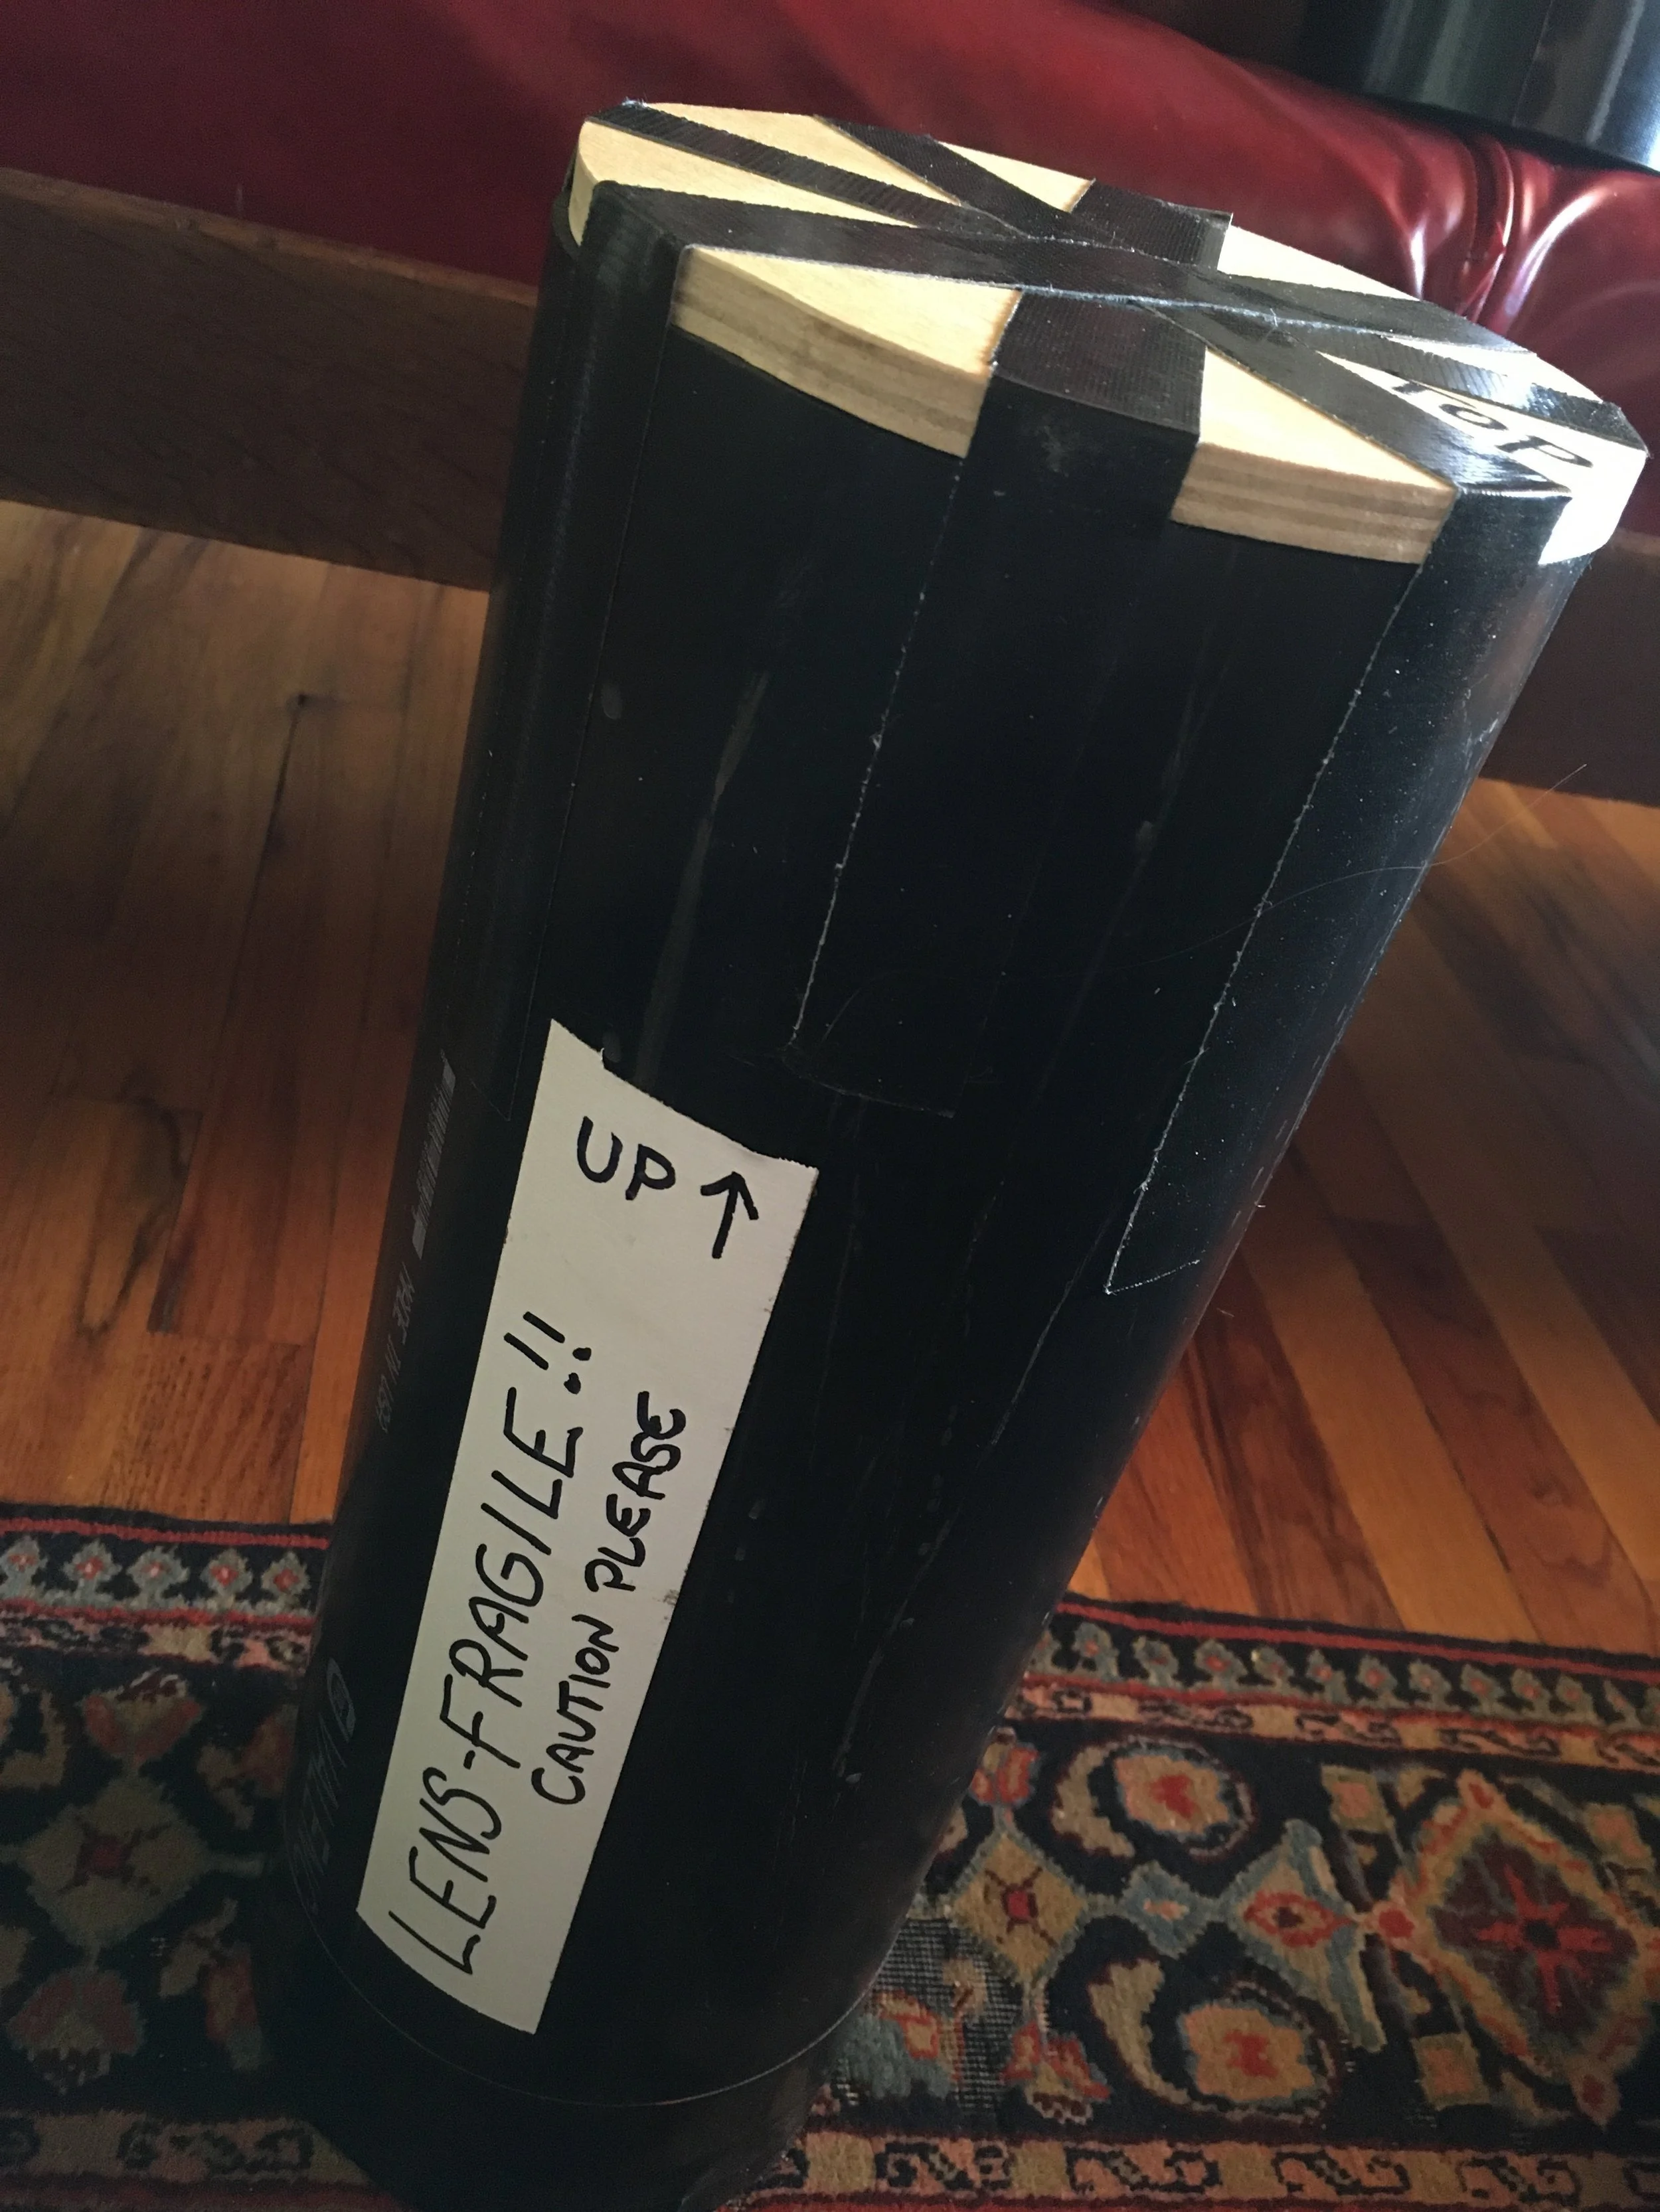
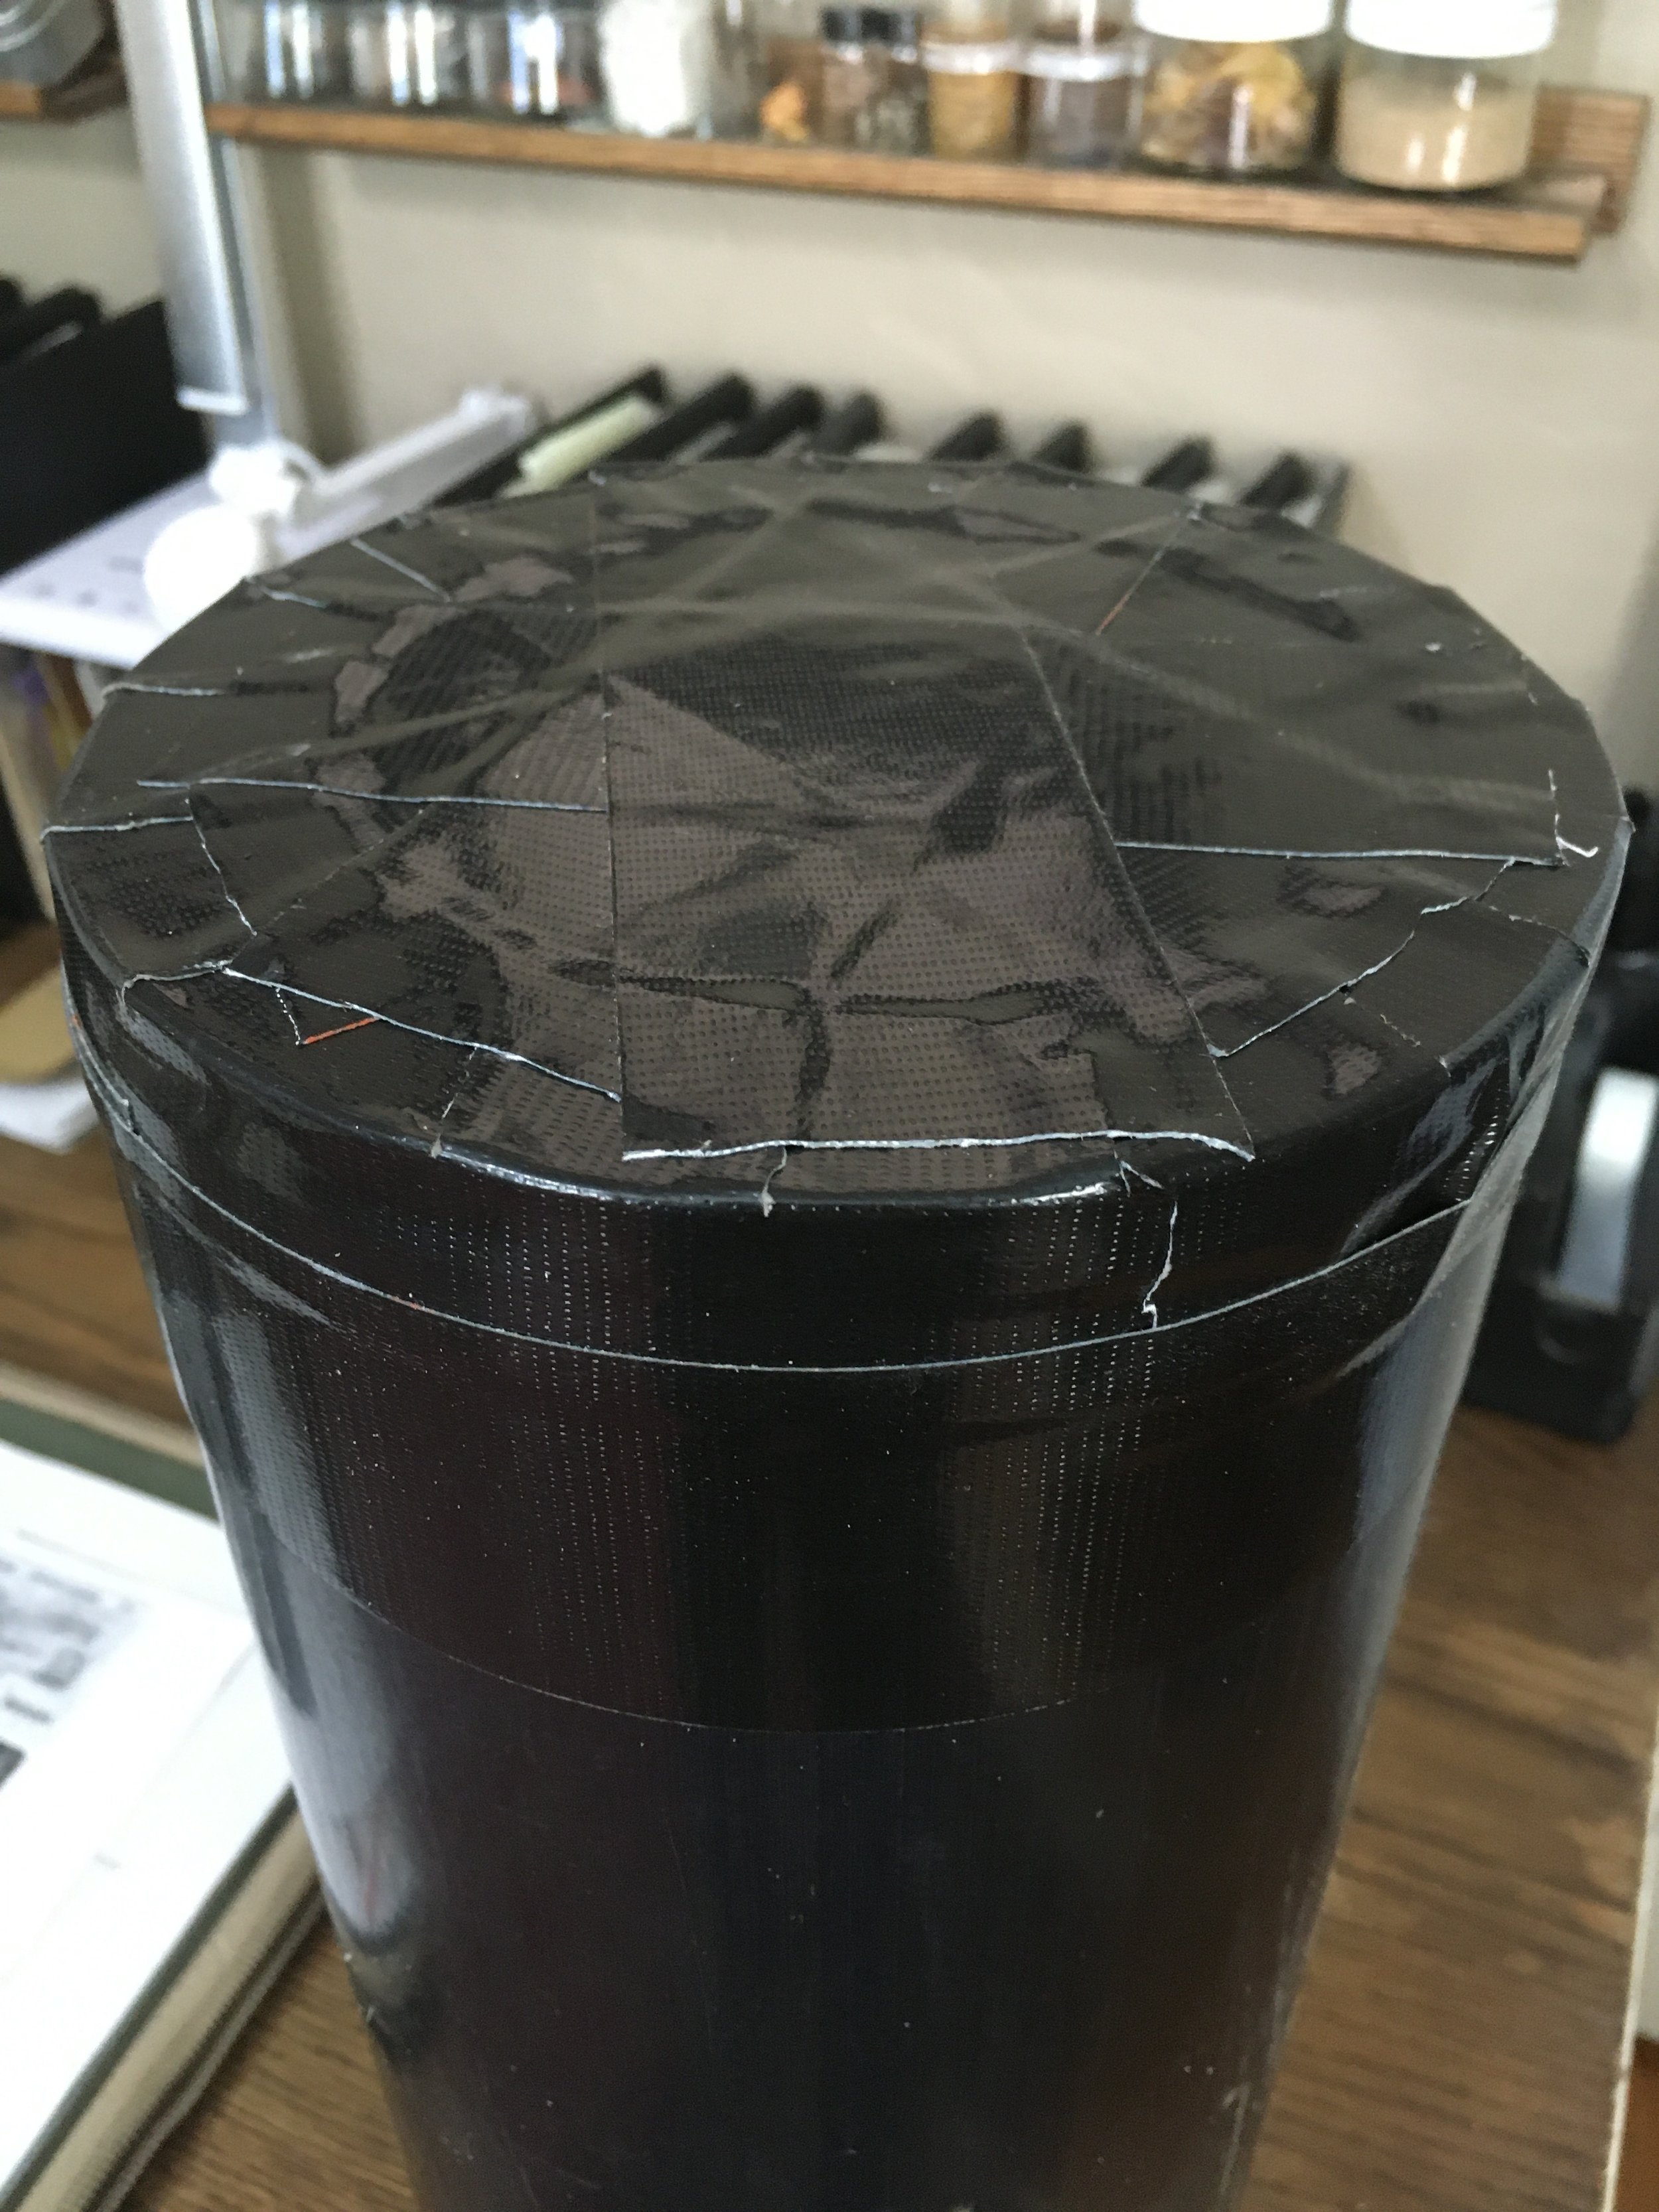
A cheap, bombproof lens-shipping case.
For the first 30 years of my career as a writer/photographer, all my camera gear went with me on airlines as carry-on luggage, packed securely in a Pelican case. For 30 years, there were no enforced weight limits for carry-on items, so no one ever noticed that the loaded case eventually weighed upwards of 33 pounds. That changed on one flight to Australia, when the check-in clerk asked to weigh it, and actually laughed out loud when she hefted it. Pointing to the sign I hadn’t noticed that said, MAXIMUM CARRY ON WEIGHT 7KG (15 pounds), she demanded I offload half its contents into our checked baggage. There followed five minutes of panic as we rolled a couple thousand dollars worth of DSLR equipment into our clothing, stuffed it into the middle of our checked duffels, and prayed for the best. (Walking past the business-class check-in we noticed that the limit there was 14kg or 30 pounds, sort of giving the lie to our clerk’s assurance that the limits were to “balance the load.)
We were lucky and everything made it to Sydney intact, but it was obvious a new approach was going to be necessary given increasingly widespread carry-on weight limits. Henceforth I carried a single camera body and a couple lenses on board, and packed the rest inside hard cases in our luggage, knowing it would inevitably be subjected to casual treatment by baggage handlers who, even if they were conscientious, were invariably pressed for time.
Early this year I picked up one of Sony’s brilliant 200-600mm zoom lenses for my Alpha 9 camera, and decided it needed extra protection—and thanks to my long-past life as a fixer-of-most-things, I knew how I wanted to go about it.
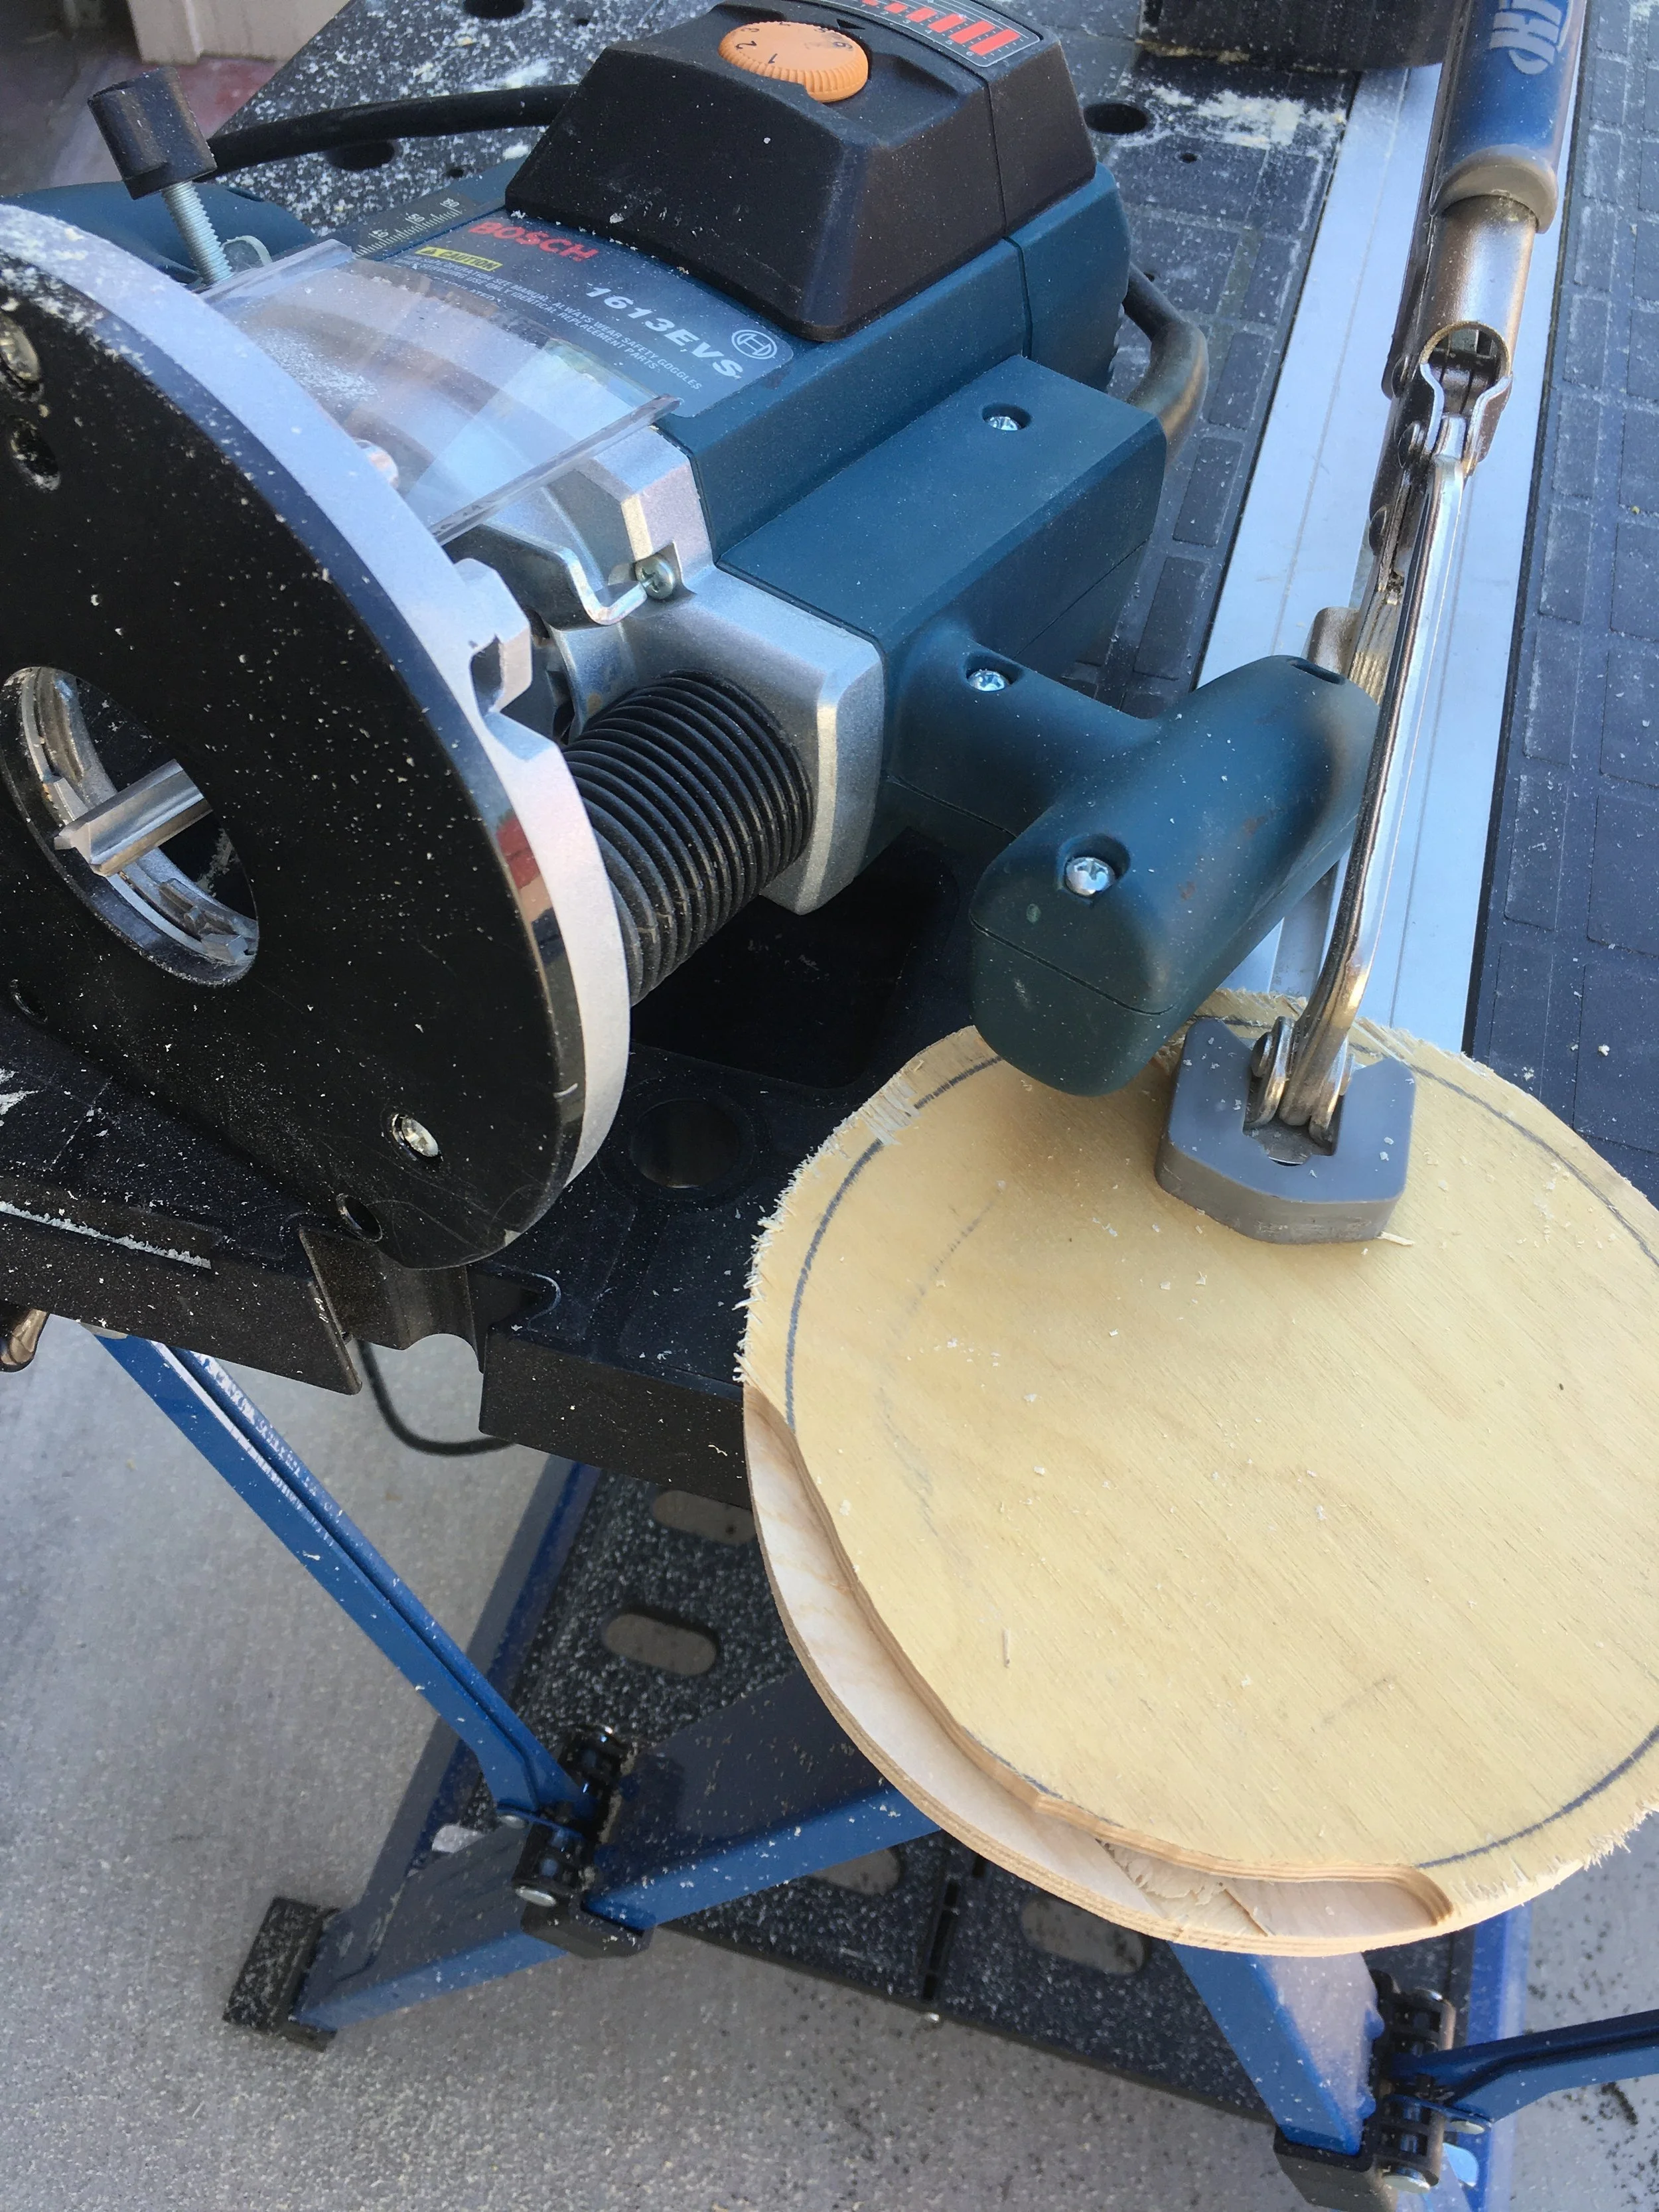
At Lowe’s Home Improvement I picked up an ABS stand pipe, six inches in diameter and 24 inches long, for the princely sum of $8.95 plus tax. Back home I picked out a scrap piece of 3/4-inch plywood (it happened to be Baltic birch but ordinary plywood would suffice). I traced the outer circumference of the pipe twice, then traced another circle inside each, a bit more than the thickness of the pipe wall. With a jigsaw I cut out each circle, then used a router to relieve the outer edge so each cap would fit securely into each end of the pipe.
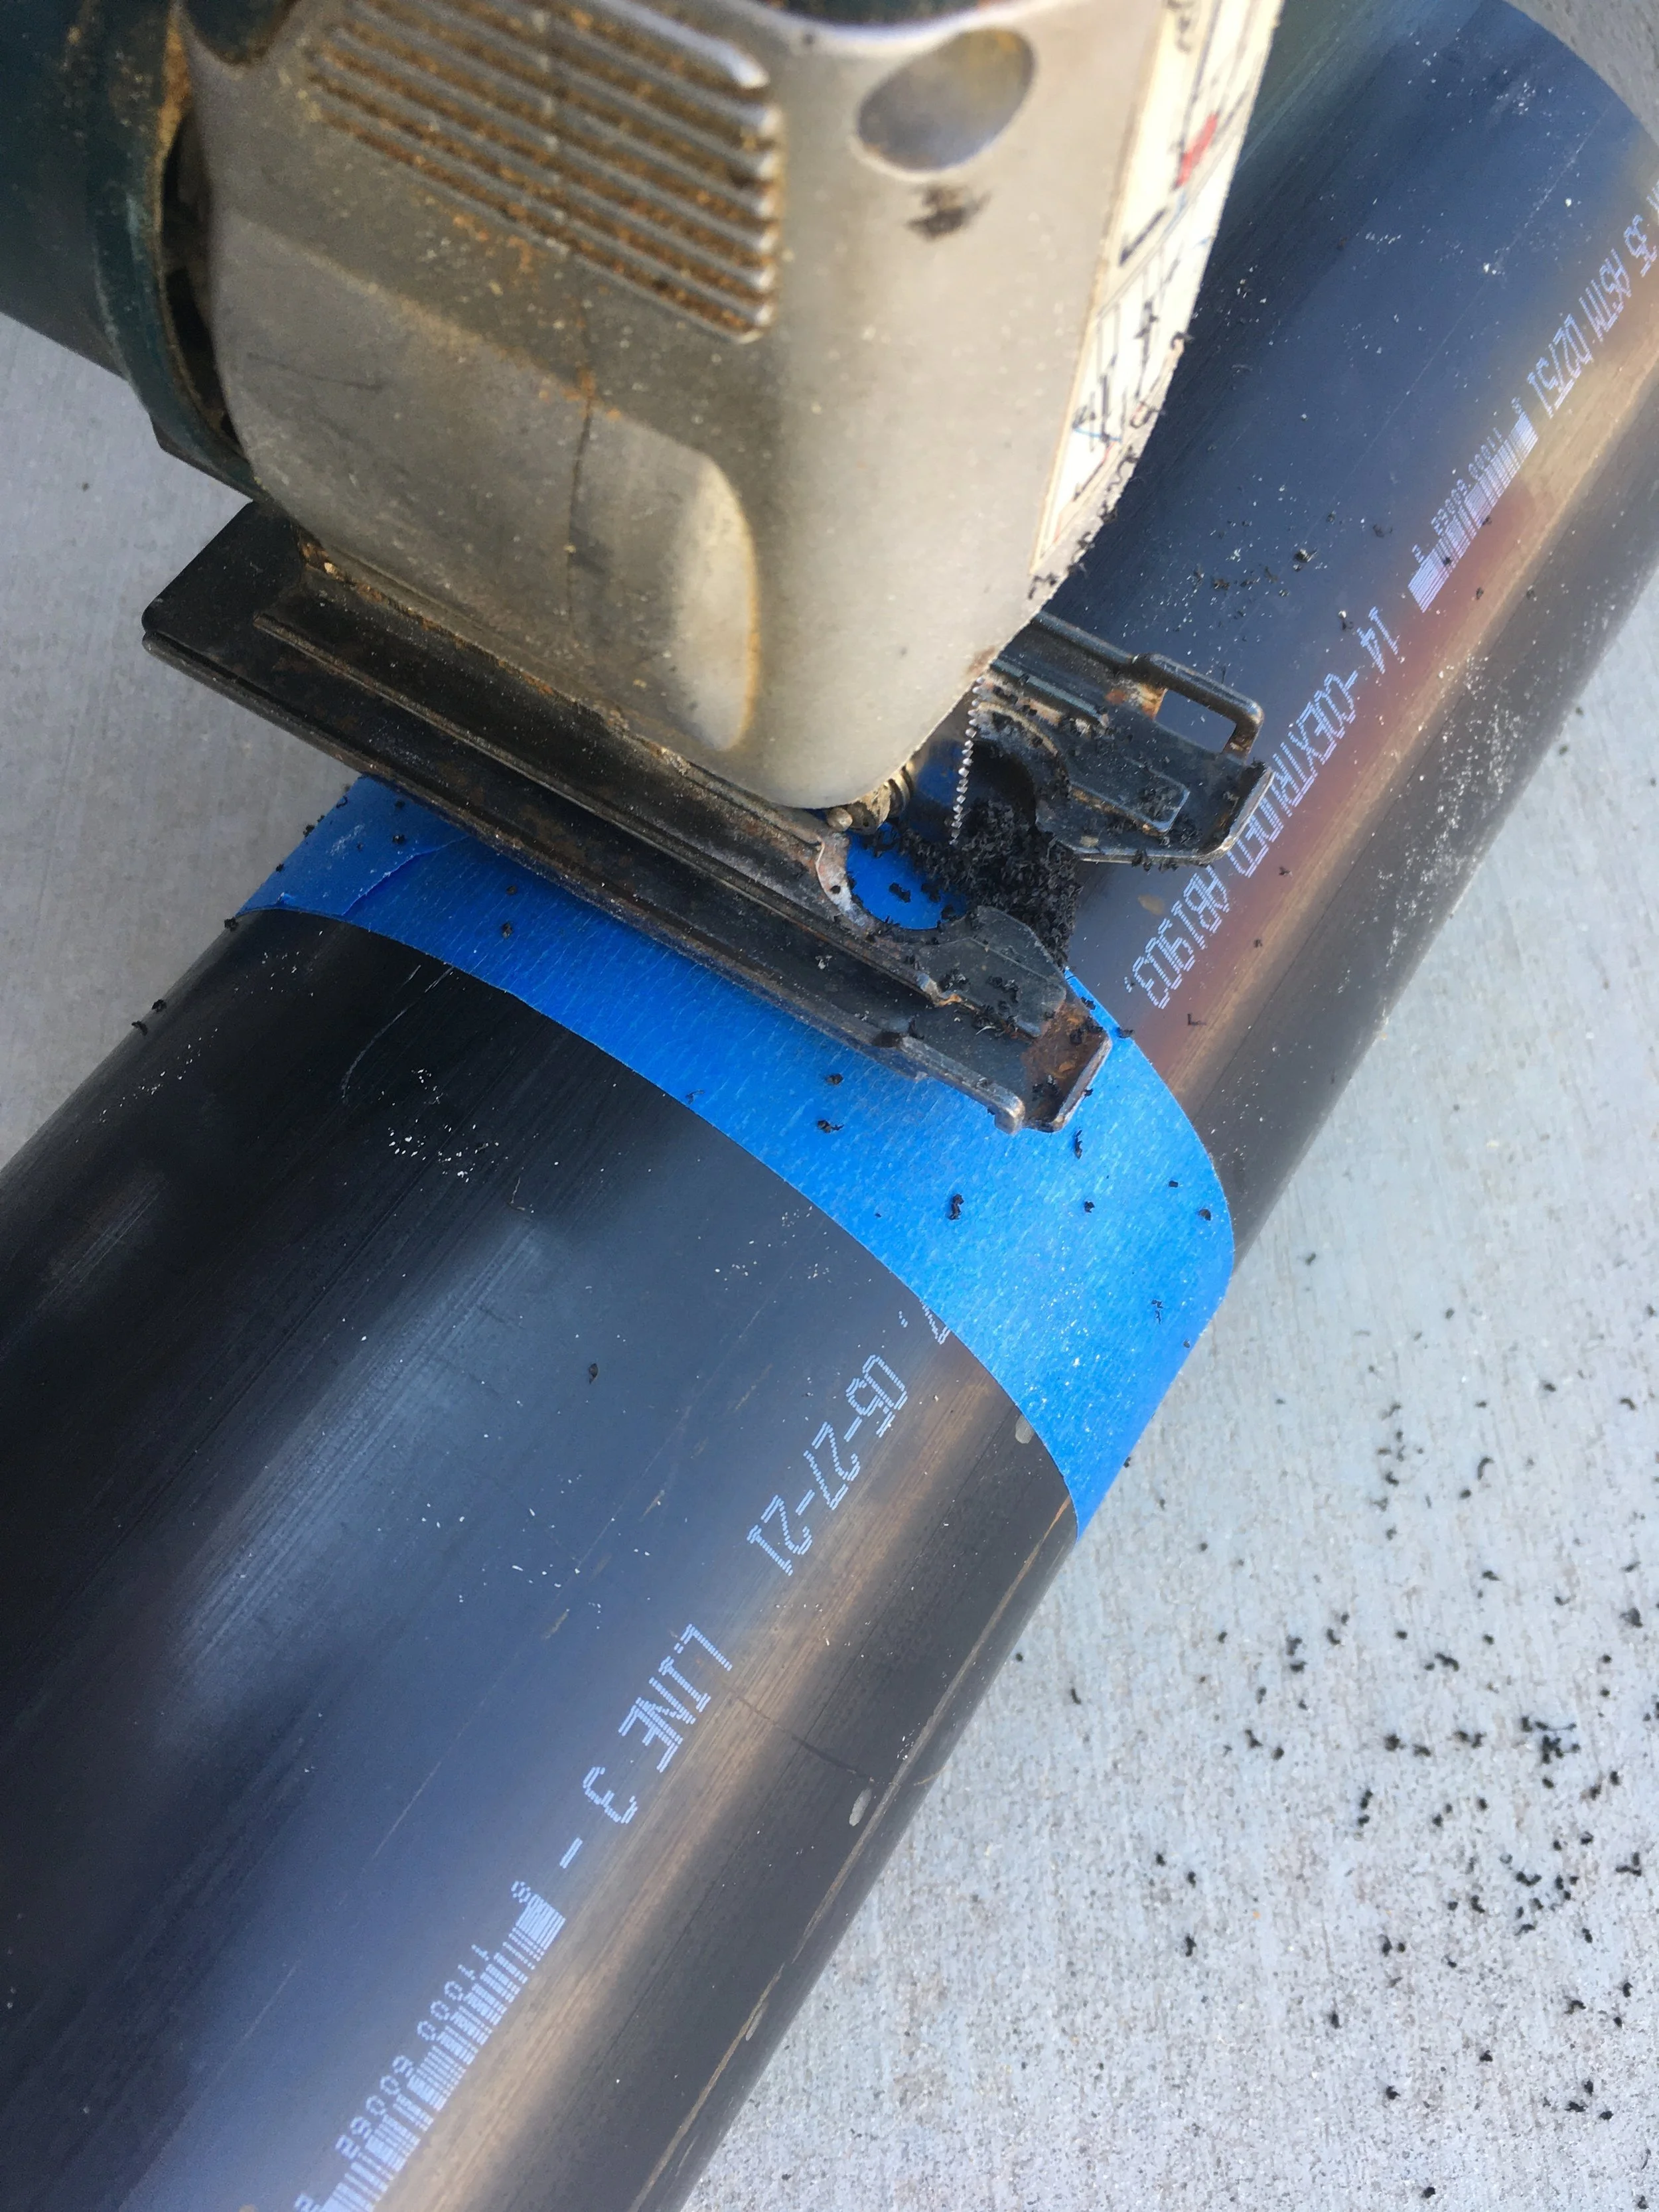
Next I set up the Sony lens next to the pipe, gauging its length with space left over for padding on each end. I marked the spot with a circumference of painter’s tape and trimmed the pipe with the jigsaw.
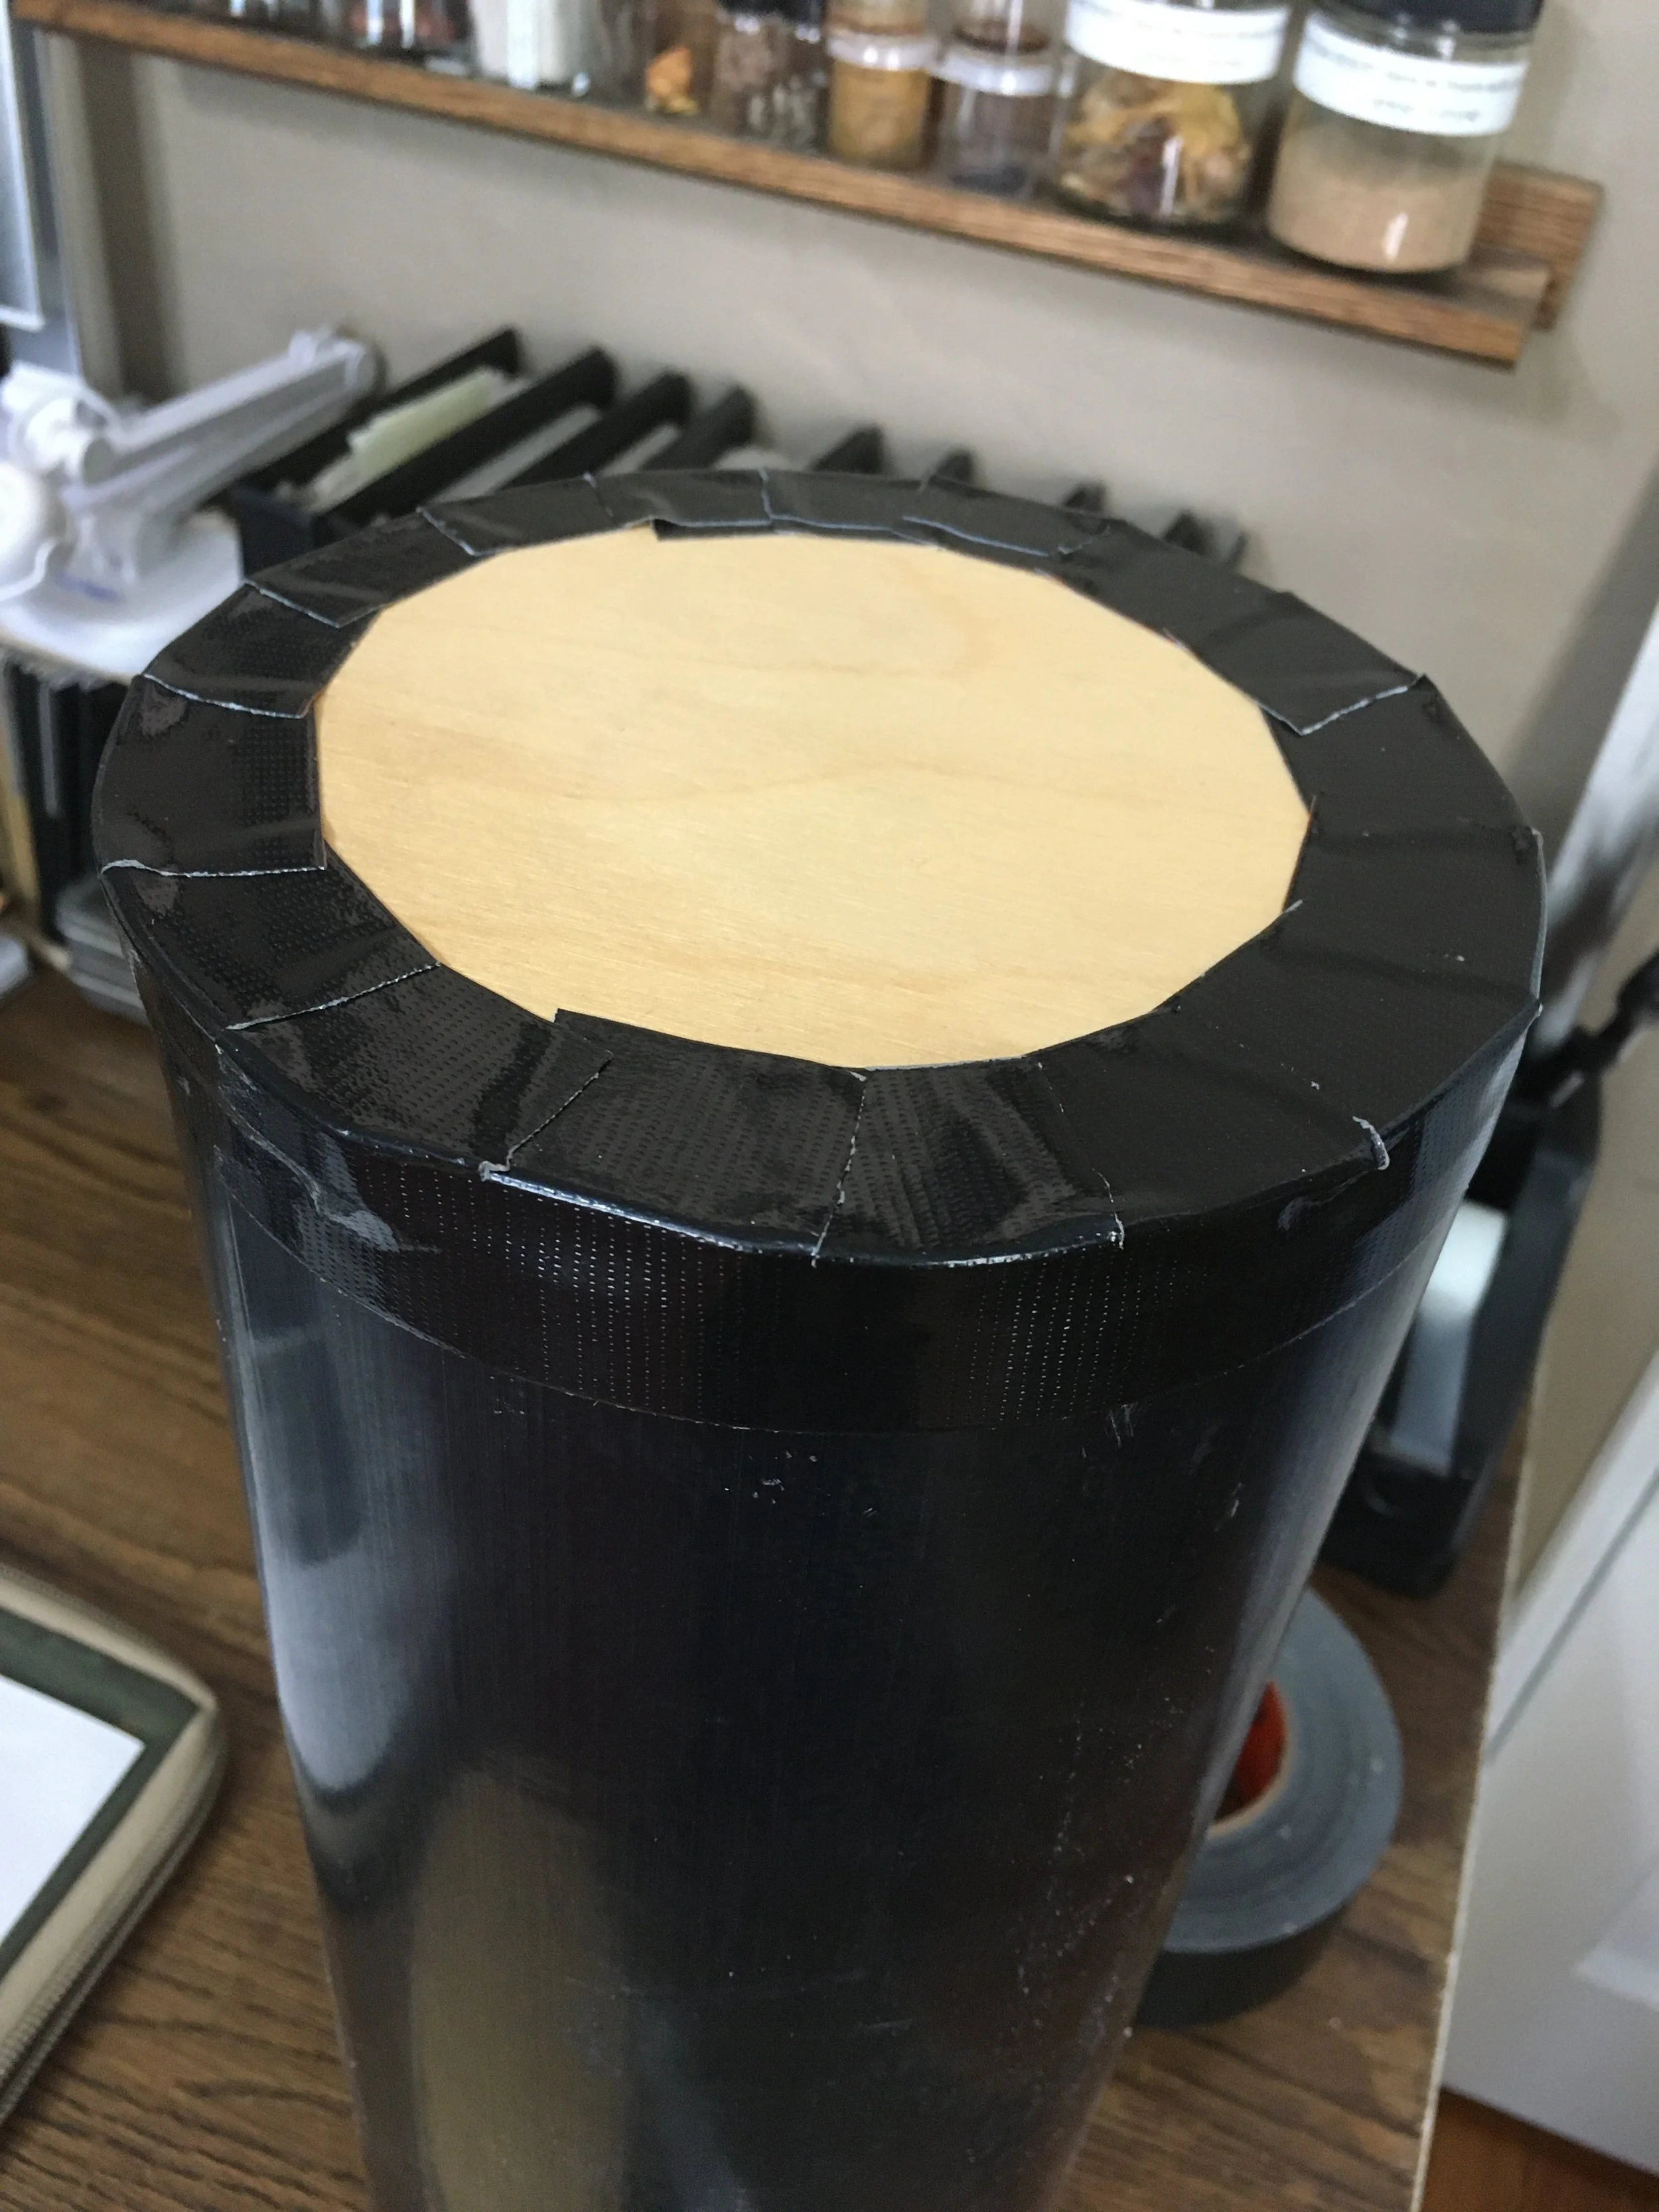
Nearly finished. I made sure the length was good, then used Gorilla tape to secure the “bottom” cap to the pipe, first with a piece around the edge, cut and overlapped thus:
. . . then with strips all the way across.
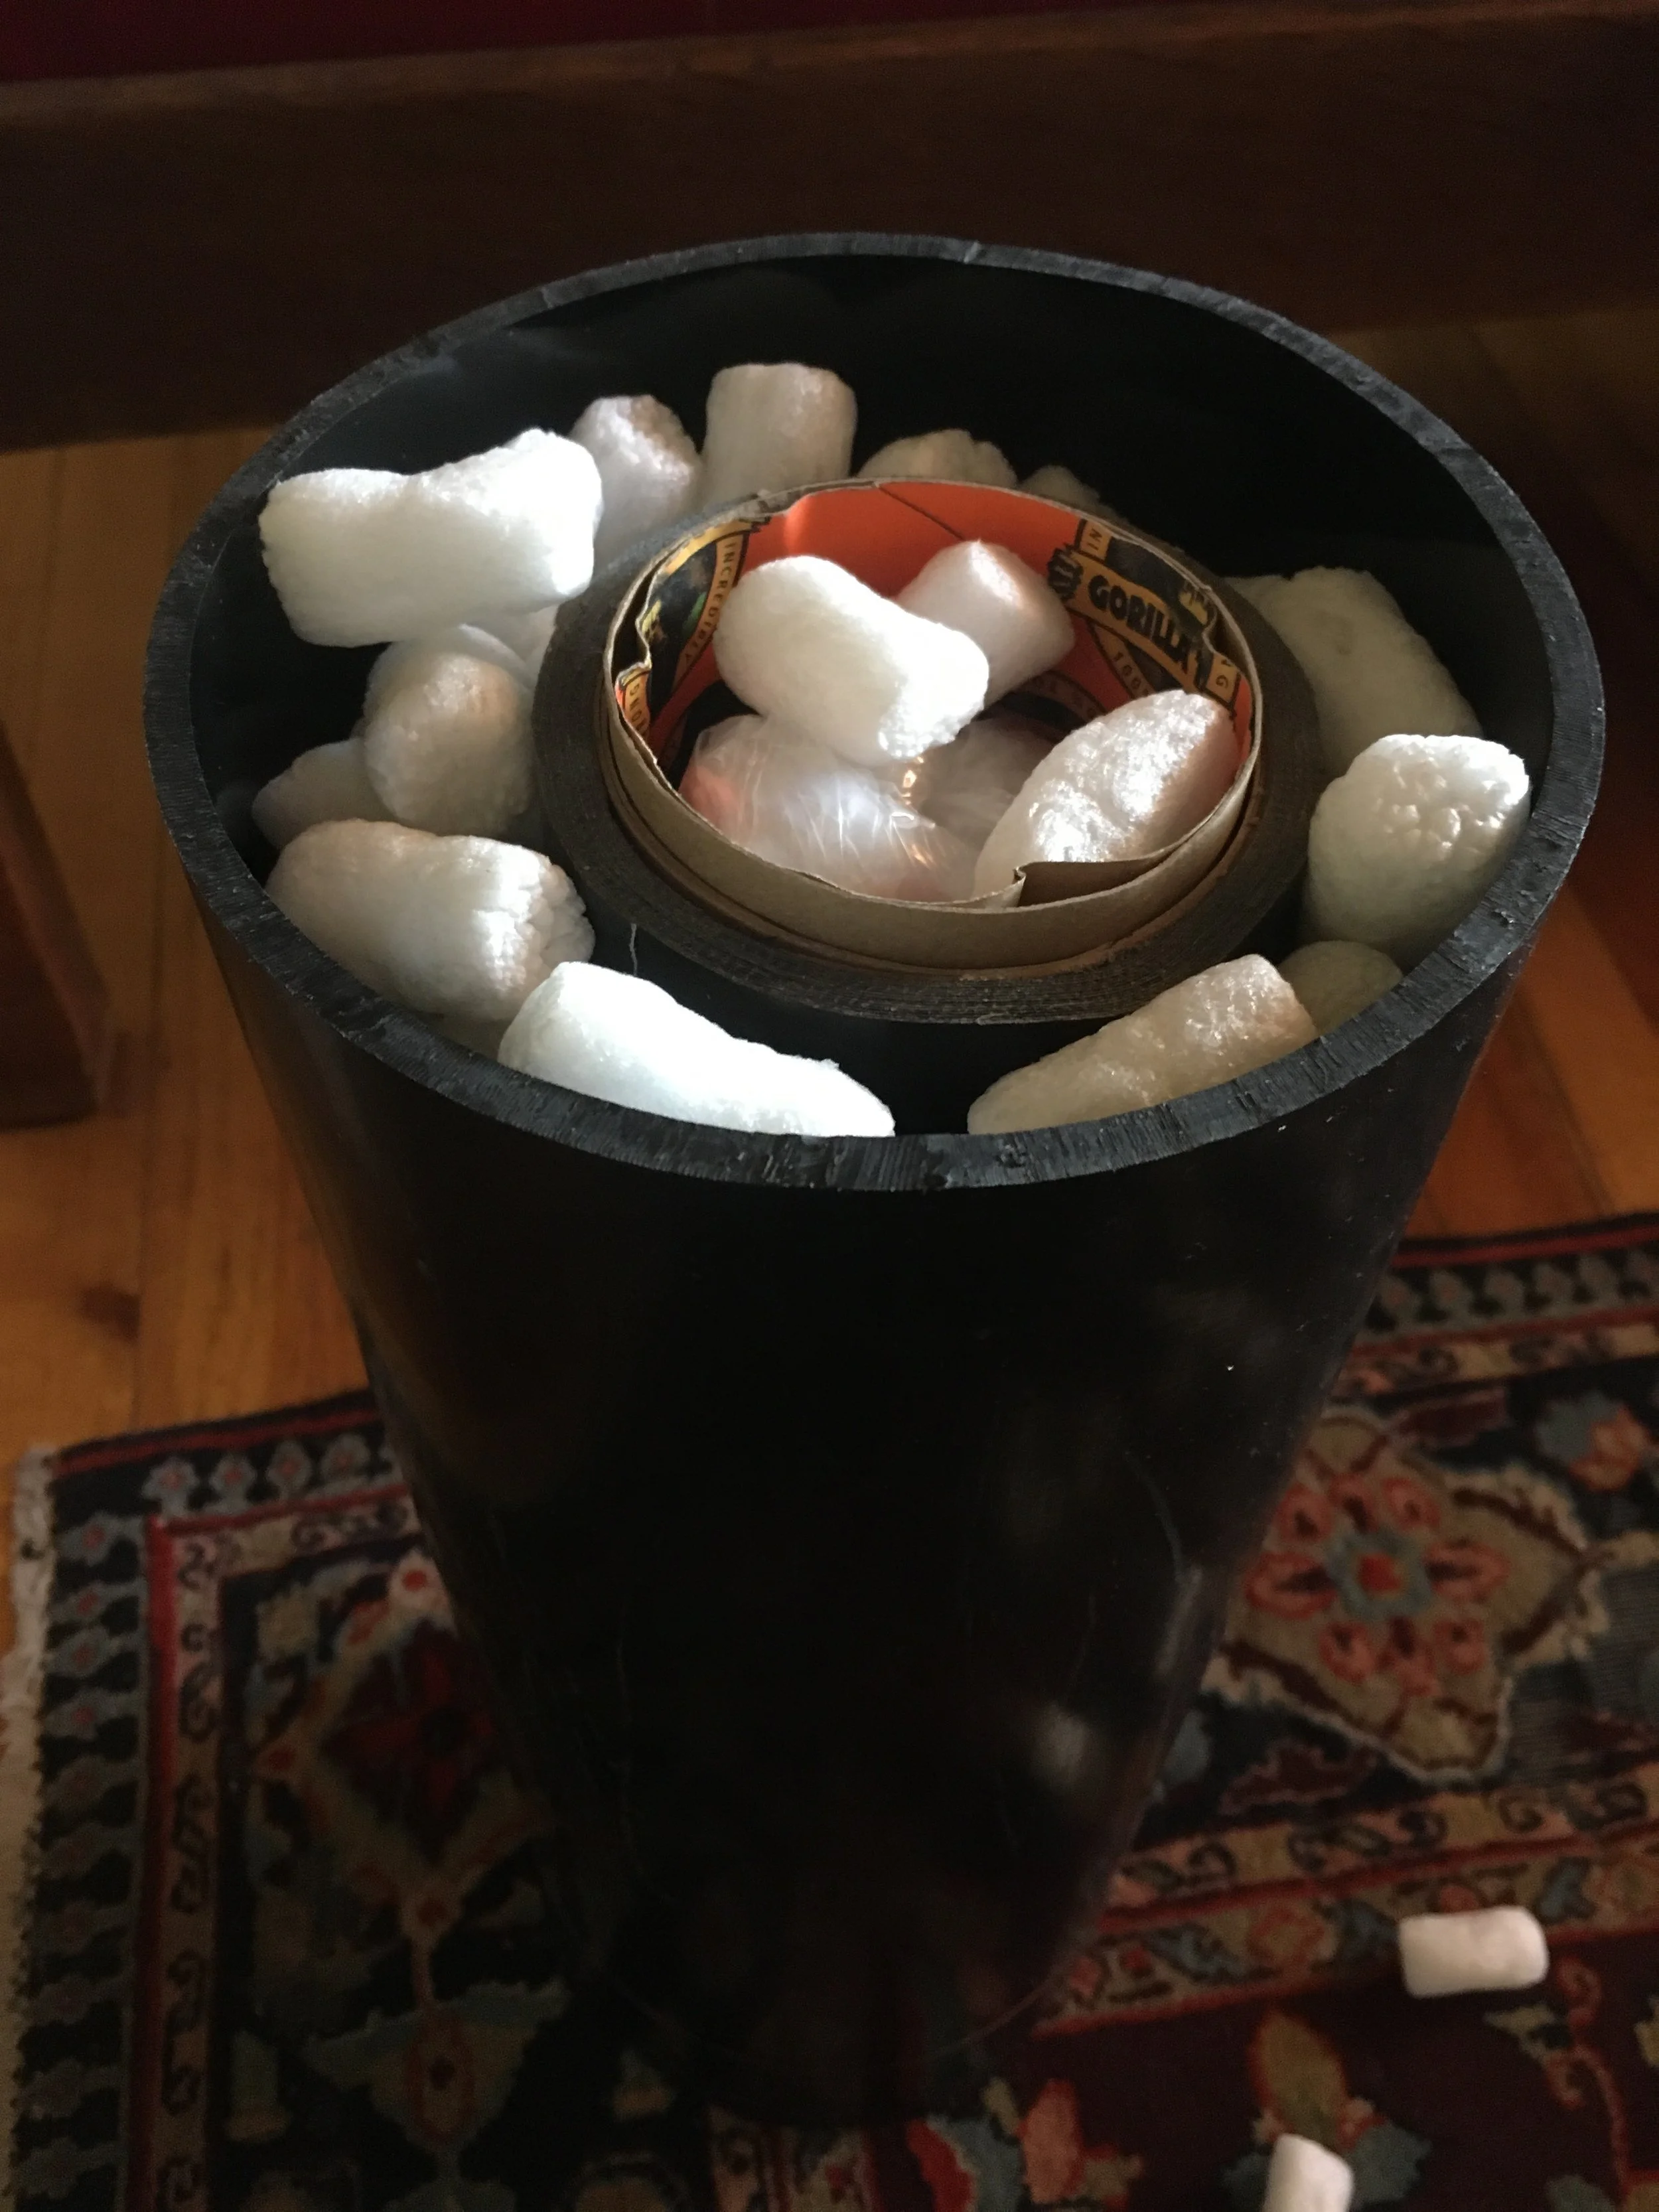
All that remained was to load the lens—wrapped in a plastic bag to keep it dust-free—well-surrounded by packing peanuts. On top I inserted the remainder of the roll of tape to re-secure it on the way home—and also, I hoped, to allow anyone who might open it for inspection to re-secure it.
With the top taped shut, the case felt utterly bombproof. You’d have to run over the thing with a tractor to damage it (perhaps not beyond the realm of possibility at a couple airports I know, but . . .). I still marked the outside with warnings.
Of course the case survived multiple flights to, from, and within Alaska with zero issues, and for once we felt zero stress consigning such a piece of equipment to the vagaries of checked luggage.
Total out-of-pocket cost: $8.95. Plus tax.

