Mini Plant Press: Tips on using
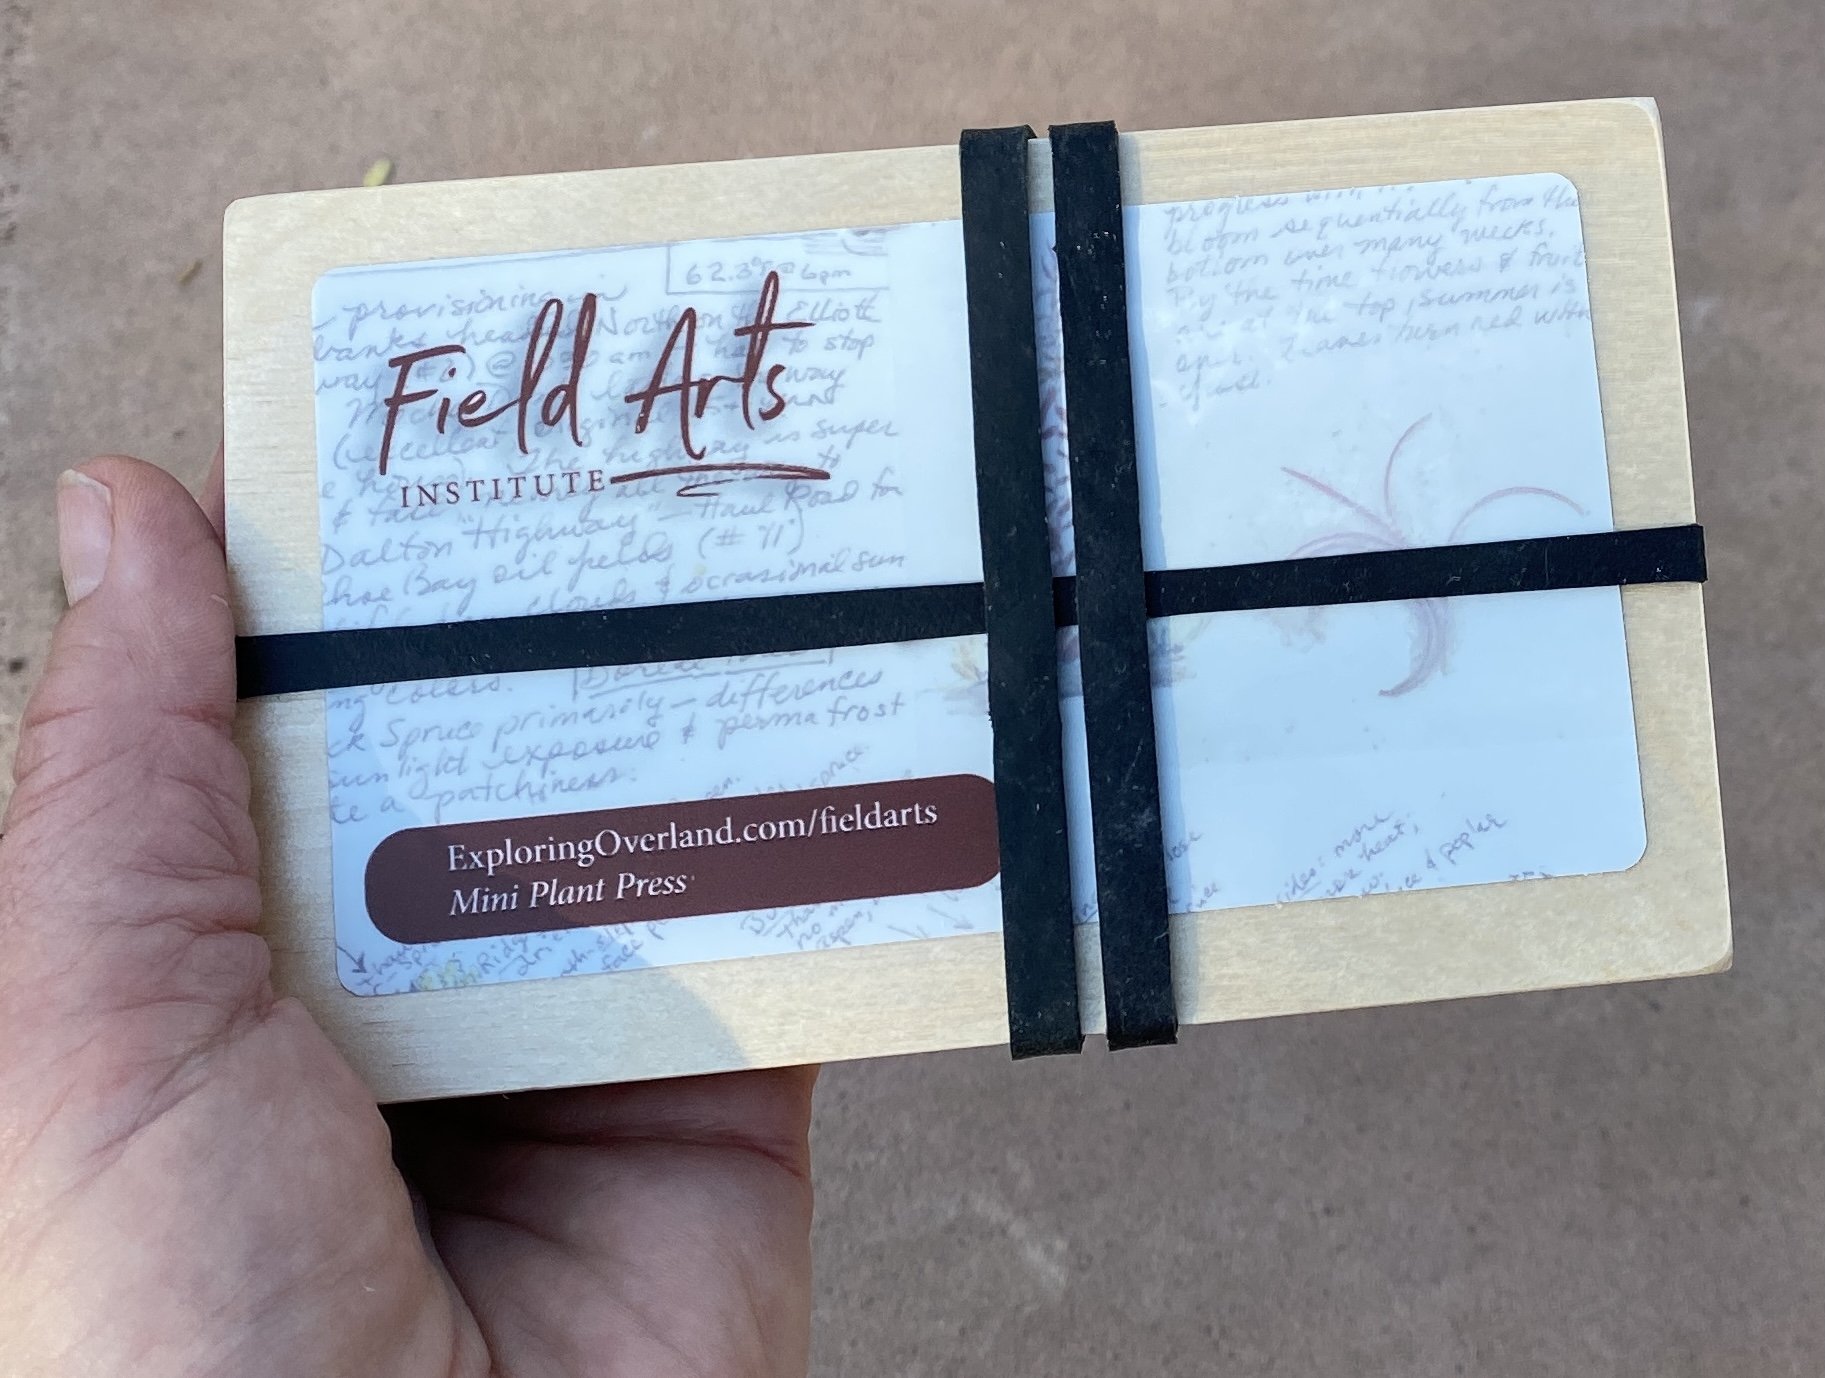
I’ve used mine for decades to press flowers and leaves and small clippings of stems and even berries.
The Mini Plant Press comes with white cardstock paper, which will work fine for pressing most leaves.
Depending on the moistness of the plant parts, you may want to cut some newspaper or watercolor paper to absorb moisture if the plant parts are more succulent or you want to press berries or flowers that have a lot of flesh.
Tip: in erasable pencil, write on the white cards all the location metadata for your specimen: latitude / longitude, elevation, name of location and page number in your field journal where you will write up details of the collection: any other information about the habitat, nearby plants, anything you think is relevant to your specimen. Even include weather for the day if it’s relevant to, say, whether the flower is open or the leaves are closed up like in the photo above, showing classic nyctinastic leaf “behavior”—the Texas ebony’s leaves change orientation depending on light intensity and temperature. So I would add in my notes that the location was my backyard, and the weather is cold and cloudy.
After you load your cuttings and label them, reassemble your Mini Plant Press as shown, with the rubber bands evenly spaced to ensure compression. Times will vary widely as to when your specimens are dry, depending on relative humidity and the water content of the specimens.
I add my pressed specimens back into my journal (often leaving space for them) either by gluing in with archival-quality PVA glue such as Gamblin’s from an art supply store (works well for small leaves; even put the clear-drying glue over the surface of the leaf to help preserve it). I also save small plastic sleeves and bags in which to slide my pressed items, then glue or tape them in with white gaffer’s (washi) tape. Above you can see a pressed Alaskan fireweed flower in a sealed bag (important! so you don’t accidentally disperse seeds in other environments, potentially spreading invasive species) next to my sketch of the whole plant and a description.
Adding Pages to My Handmade Leather Journal
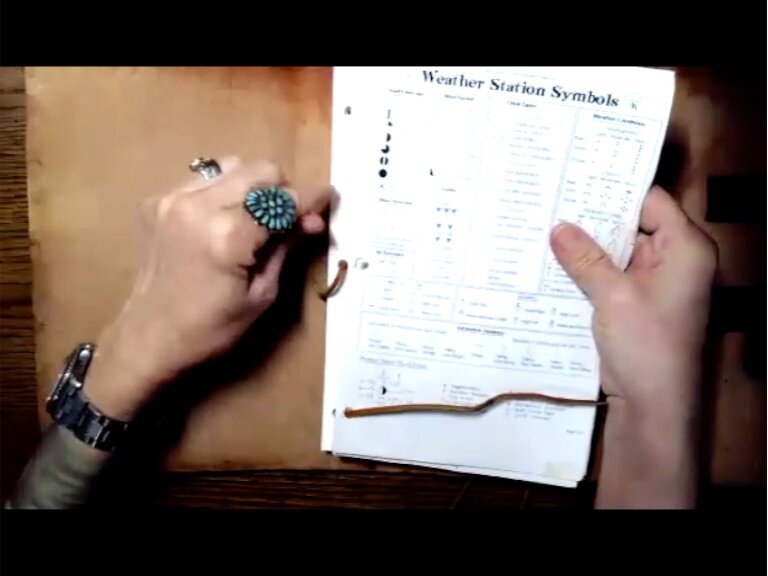
In this short tutorial I demonstrate how I lace pages into my simple leather journal using leather shoelace. I've been using this system for over 20 years and it is inexpensive and versatile, allowing me to archive my pages in three-ring binders.
To see previous posts on how I made my journal and my Minimalist Stand-Up Sketching Kit and printable downloads for weather data, use the links below.
Minimalist Watercolor for Nature Journaling
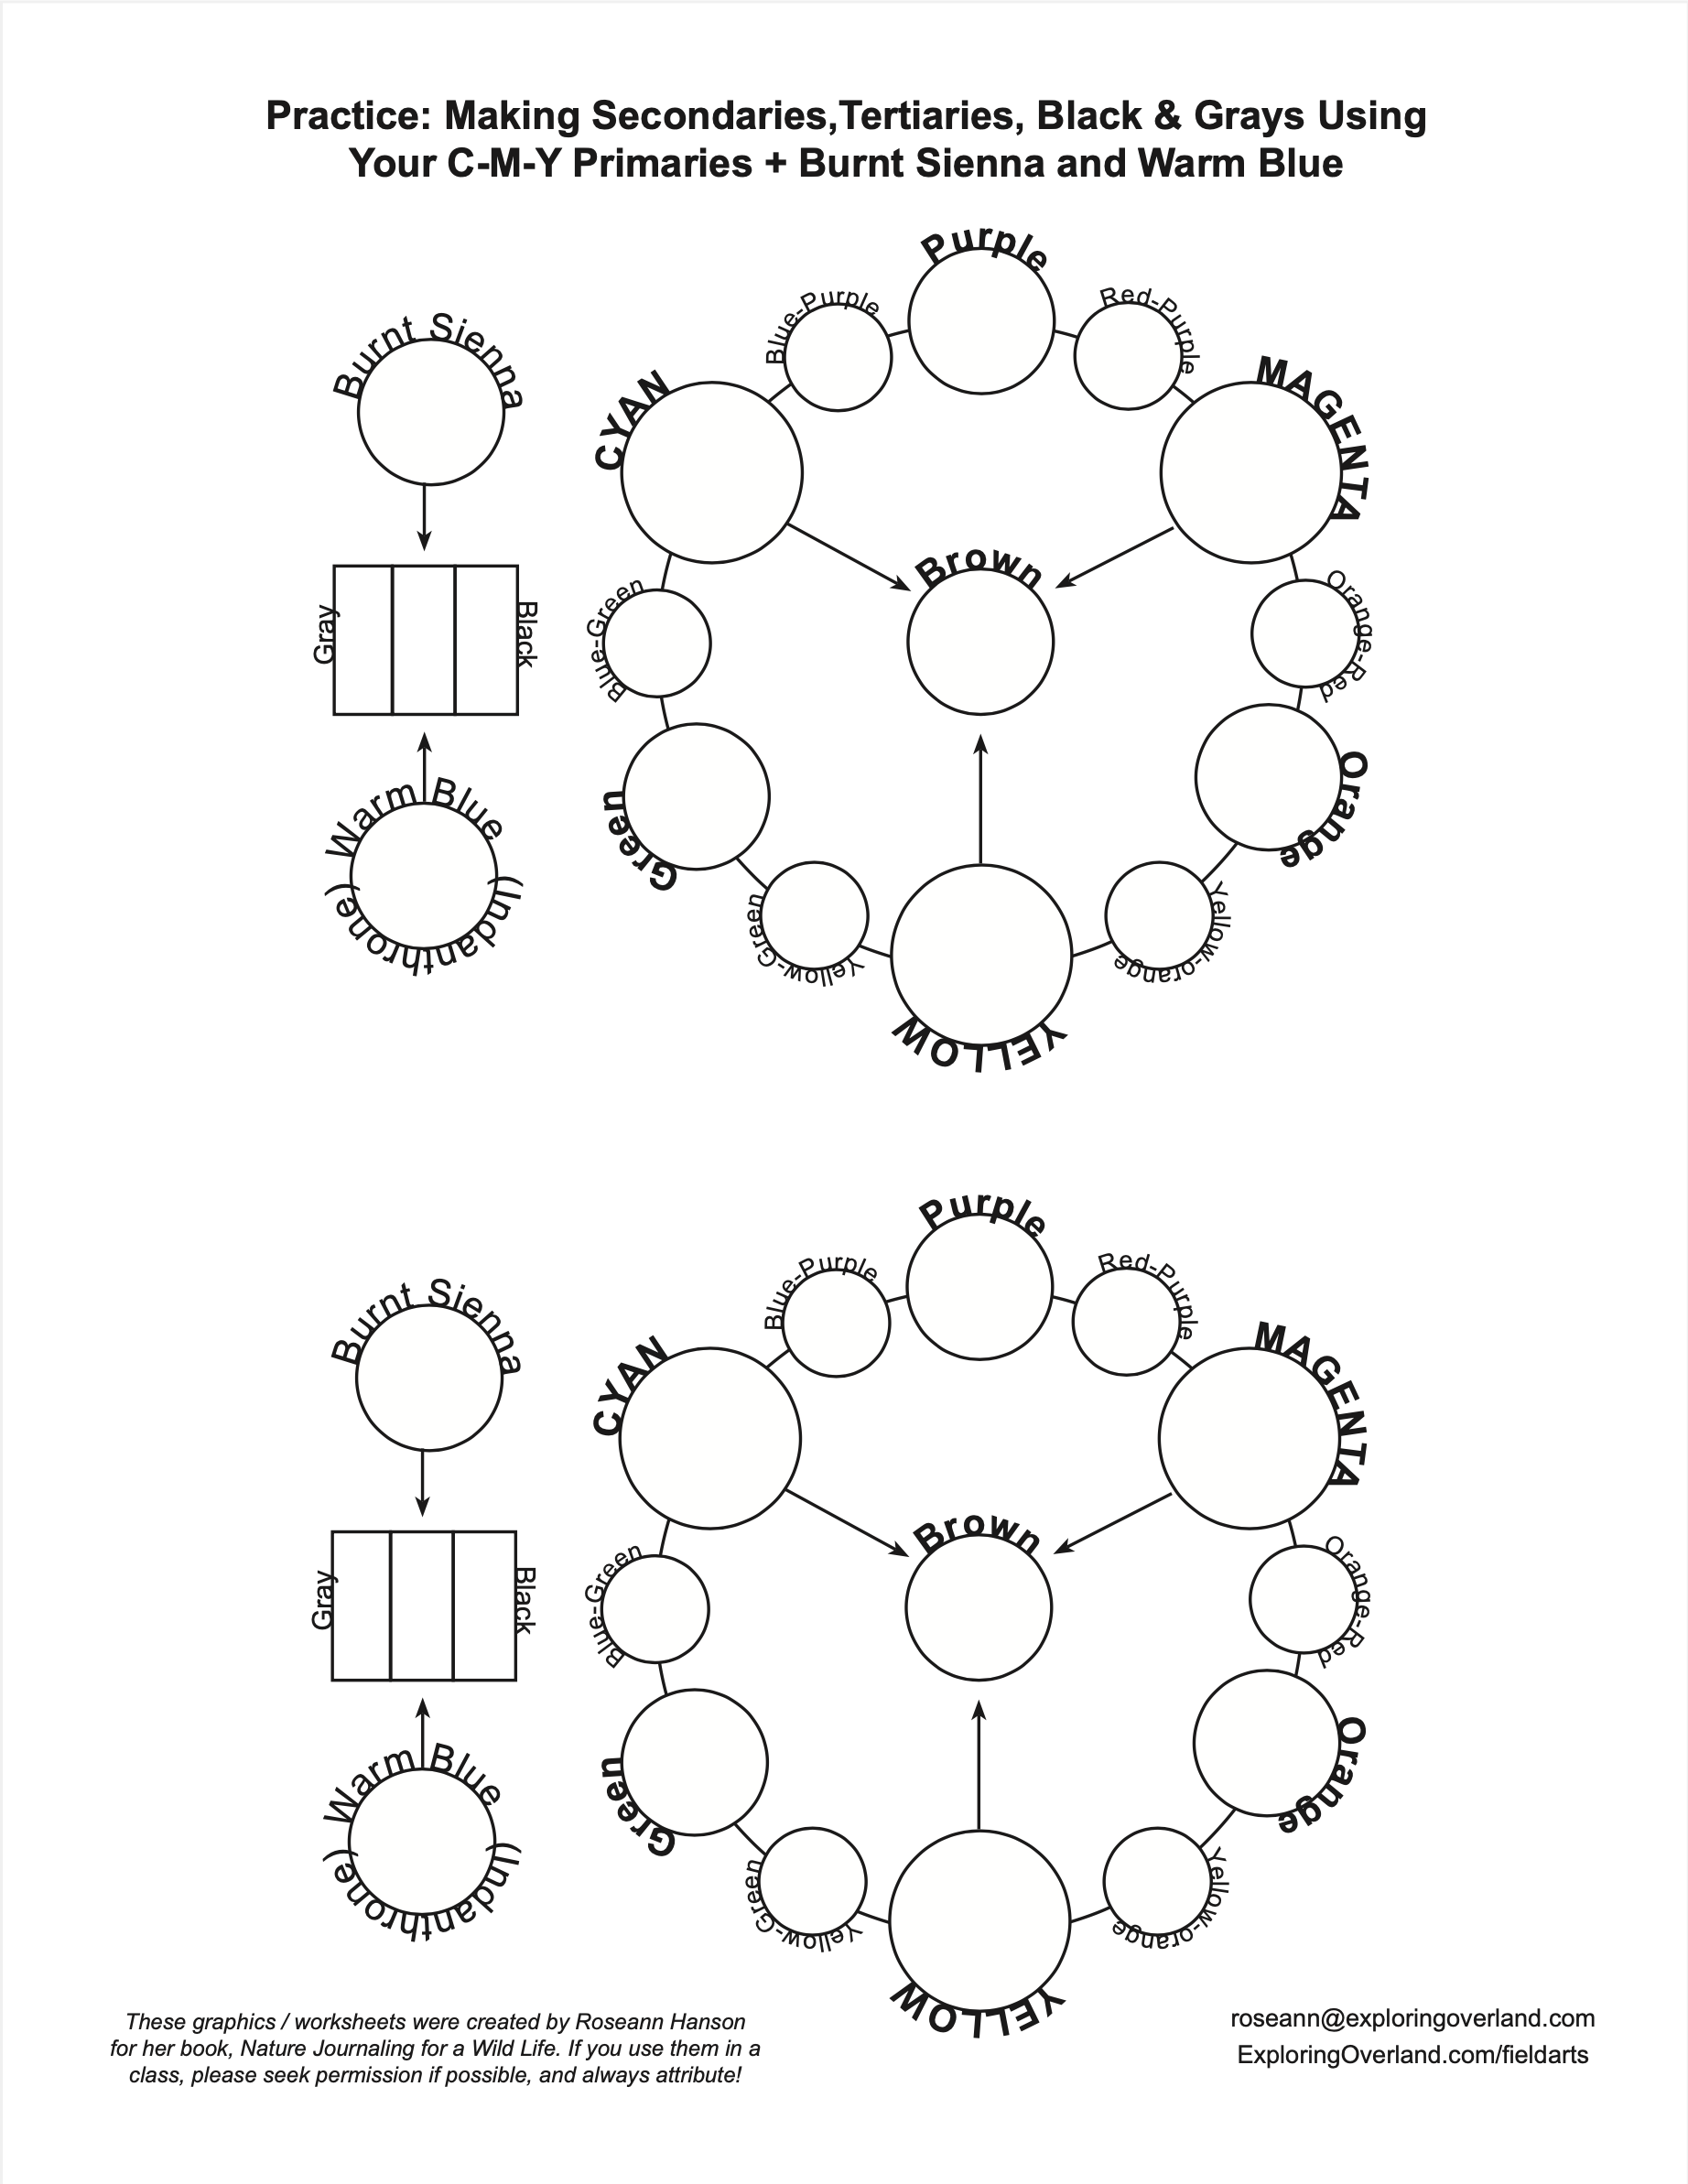
If you are new to watercoloring in your nature journal or field notes—or to using a waterbrush instead of a traditional brush—here is a short tutorial on using a minimalist approach, using just five colors (a cyan-magenta-yellow triad + burnt sienna and a dark blue) from my Minimalist Paint Kit. My workbook, Nature Journaling for a Wild Life, includes a section on how to start using simple colors and which ones are easiest to use and why. I use transparent, non-staining ("liftable") colors from Daniel Smith: Cerulean or Manganese Blue Hue (="cyan"), Quinacridone Rose (="magenta”), and Aureolin (="yellow”) plus Burnt Sienna and Indanthrone Blue.
Below is a link for a downloadable PDF of my Minimalist Watercolor Worksheets.
Triad + 2 color Minimalist Watercolor Technique – Printable color mixing practice sheets
Click HERE to download a PDF. Tip: if you have 8 1/2 x 11 watercolor paper that is 90-lb or lighter, you can print on a laser printer (not an inkjet, which will smear).
Fellow teachers: If you use my PDF in a class, please make sure to include the attribution for my work; I created these resources for my book and for my classes, and I appreciate the attribution!


